Hand Saws
How To Cut Tenons By Hand
Four saw cuts and a paring chisel turn the end of a rail into a joint that outlives the glue.
We earn a commission when you buy through our Amazon links, at no extra cost to you. It never decides a ranking, and where the best tool in a class is one we earn nothing on, we say so and link it anyway. How this works.
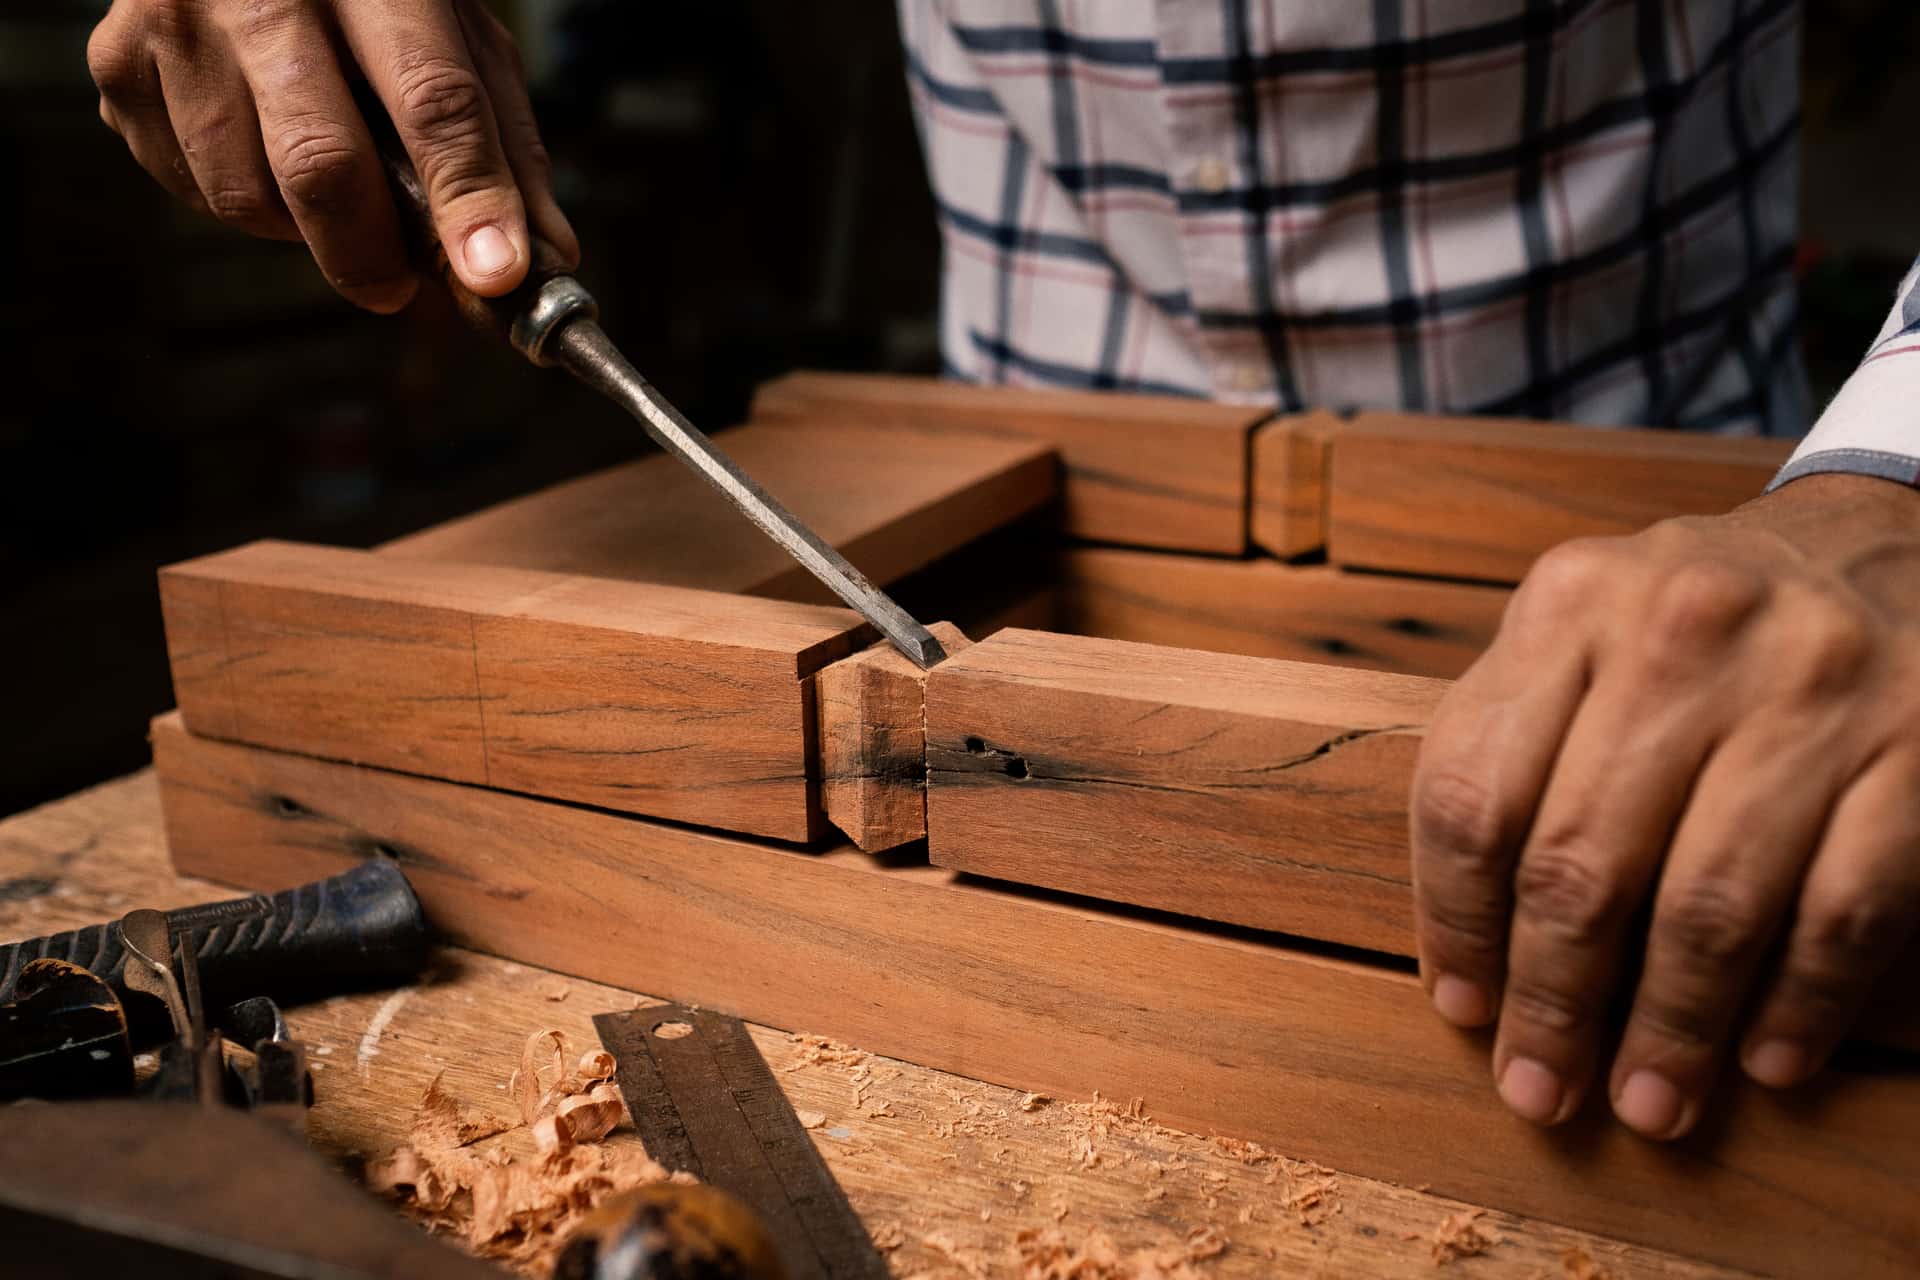
A tenon is the tongue of wood you leave on the end of a rail, and a mortise is the socket it drops into. Cut the two so their broad faces meet, and you have the mortise-and-tenon — the joint that has held chairs, doors, gates and workbenches together for centuries, very often with the original glue long gone and the joint still tight. The whole thing comes down to four saw cuts and a little paring with a chisel, done in the right order and always to the waste side of your lines.
Why the joint outlives the glue
The strength of a mortise-and-tenon is mechanical first and adhesive second. The cheeks of the tenon lie face to face against the walls of the mortise, so any load is spread across a broad area of long grain instead of the weak end grain a butt joint would rely on. The shoulders, meanwhile, close tight against the surrounding piece and lock the parts square. Get that geometry right and the joint is doing the work whether or not the glue survives — which is exactly why an old chair can be knocked apart, scraped clean and reassembled a hundred years later and still pull up tight. A joint you cut once and never have to think about again is the definition of building for life.
Layout: give the saw a line to follow
Everything that follows depends on clean layout, so this is the wrong place to hurry. Set a mortise gauge — or a single marking gauge used from the same face twice — to the exact width of the chisel you intend to chop the mortise with, and scribe both cheek lines from the show face of every piece so that any small error repeats itself consistently rather than at random. Knife the shoulder lines all the way around the rail with a marking knife rather than a pencil; a knifed line severs the surface fibers and gives the saw a tiny wall to drop into, which is what leaves you a crisp, gap-free shoulder. Finally, scribble pencil across the waste so that when you are head-down in the cut you can never saw the keeper side by mistake.
Which saw to pick up
The tool made for this is a tenon saw: a backsaw with a stiff brass or steel spine, filed rip or with a hybrid tooth, and long enough to give a controlled stroke down the length of the cheek. The rigid back keeps the plate dead straight so it tracks the line instead of wandering. If you are weighing one backed saw against another, it helps to understand how a tenon saw and a dovetail saw differ and, more broadly, what a backsaw actually is and why that spine matters for accurate joinery.
Sawing the cheeks
Clamp the rail upright in the vise and start the cut on the far top corner with the plate held at a shallow angle, cutting down toward you on the near face first. Let the saw's weight do the cutting; a light grip tracks a line far better than a tight one. Keep the kerf on the waste side of your gauge line — leave the line itself standing — and saw the far corner and near corner in turn until the plate settles level and you can drop straight down to the shoulder line. Stop the moment you reach it, then repeat on the other cheek. Two cheeks sawn true is most of the job done.
Sawing the shoulders
The shoulders are the cut that shows, so treat them with the same care as the cheeks. Lay the rail flat, drop the saw into the knifed shoulder line, and cut down to meet the cheek kerfs — again staying a hair to the waste side so the knife wall survives. When the waste falls away you are left with the tenon standing proud, and the quality of those shoulder lines is most of what a viewer will ever judge. A shoulder that seats tight all the way round hides a multitude of small sins inside the joint.
Paring to a fit
A sawn tenon is rarely a finished tenon. Test it in the mortise, find the tight spots, and pare them back a shaving at a time with a sharp, wide chisel. The goal is a fit you can push home with hand pressure and a little persuasion — snug enough to stay put dry, loose enough that glue is not squeezed entirely out of the joint. If chisel control is new to you, the grip, registration and paring strokes in how to use a chisel are worth reading before you start shaving a joint you care about.
A chisel is referenced off your hand, which is why this is the step people find fiddly. The tool built for it is a shoulder plane: its iron spans the full width of the body, so it takes a few thousandths off a cheek or a shoulder while riding on the board's own face instead of your wrist. If you cut tenons by hand regularly it is the single purchase that most improves the fit — the best shoulder planes ranks them on published iron hardness, bed angle and whether a replacement iron can be bought at all.
A shoulder plane fixes the shoulder. The cheek— the wide face of the tenon, and the thing that decides whether the joint is the right thickness — is a router plane's job, because a router plane locks its cutter a set distance below a base that rides on the board, so every cheek you cut comes out the same thickness without measuring anything. That is what makes six matching tenons possible; the best router planes ranks them on depth control and spare cutters. If you would rather do it by hand, the best paring chisels are the long-bladed chisels made for exactly this cut.
Cutting the mortise to match
A tenon is only half the joint, and the two are cut to the same gauge setting so they belong together. The mortise is chopped, not sawn, and the tool for it is a mortise chisel — a thick, stiff blade built to lever out waste without flexing or twisting in a deep socket. Chop from the middle out toward each end, stay inside your lines, and pare the walls straight at the very end. Because both parts came off the same gauge, a tenon cut to the line drops into a mortise cut to the line with little fuss.
From tenons to dovetails
If you can saw a straight cheek and a clean shoulder to a knifed line, you already own most of the skill a dovetail asks for; the difference is mainly the angle and the order of the cuts. Reading how to cut dovetails by hand next will show you how the same sawing-to-a-line discipline builds the other great buy-it-for-life joint. Between the two, you can hold together nearly any piece of solid-wood furniture without a single fastener — and without ever rebuying the glue-and-screw repair you would otherwise be making in a decade.
Questions
Frequently asked
What saw do I need to cut tenons by hand?
A tenon saw or larger backsaw, filed rip or hybrid, with a stiff back that keeps the plate straight. The spine is what lets you track a long, accurate cut down the cheek; a soft, unbacked plate wanders on a cut this precise. The best tenon saws ranks seven of them on whether the teeth can be filed again, and on which makers will tell you how the teeth are filed in the first place.
Should I saw on the line or to the side of it?
Always to the waste side, leaving the knifed or gauged line standing. A tenon sawn fat can be pared down to a perfect fit; a tenon sawn to the line, or over it, is already too small and cannot be recovered.
Do I have to pare the tenon after sawing?
Usually yes, at least a little. Even good sawing leaves high spots, so you test the tenon in the mortise, mark the tight areas and pare them back with a sharp chisel until it seats with firm hand pressure.
How tight should a mortise-and-tenon fit?
Snug but not forced. You want to push it most of the way home by hand and seat it with light taps, leaving room for a thin glue line. A joint you have to hammer together will often split the mortise or starve the glue.
Which comes first, the mortise or the tenon?
Chop the mortise first, then cut and pare the tenon to fit it. It is far easier to shave a tenon down to an existing socket than to enlarge a socket to match an oversized tenon.
Keep reading
Related
- How to cut dovetails by handThe other great hand-cut joint, built on the same saw-to-a-line skill.
- Tenon saw vs dovetail sawWhich backed saw to reach for when you cut the cheeks and shoulders.
- What is a mortise chiselThe stiff chisel that chops the socket your tenon has to fit.
- The best hand sawsThe saws worth owning for a lifetime of joinery, ranked and explained.
Back to Hand Saws · how we pick · editorial policy