Chisels
How To Use A Chisel
The tool is simple; using it well is a short list of habits about grip, bevel direction, and where your hands are.
We earn a commission when you buy through our Amazon links, at no extra cost to you. It never decides a ranking, and where the best tool in a class is one we earn nothing on, we say so and link it anyway. How this works.
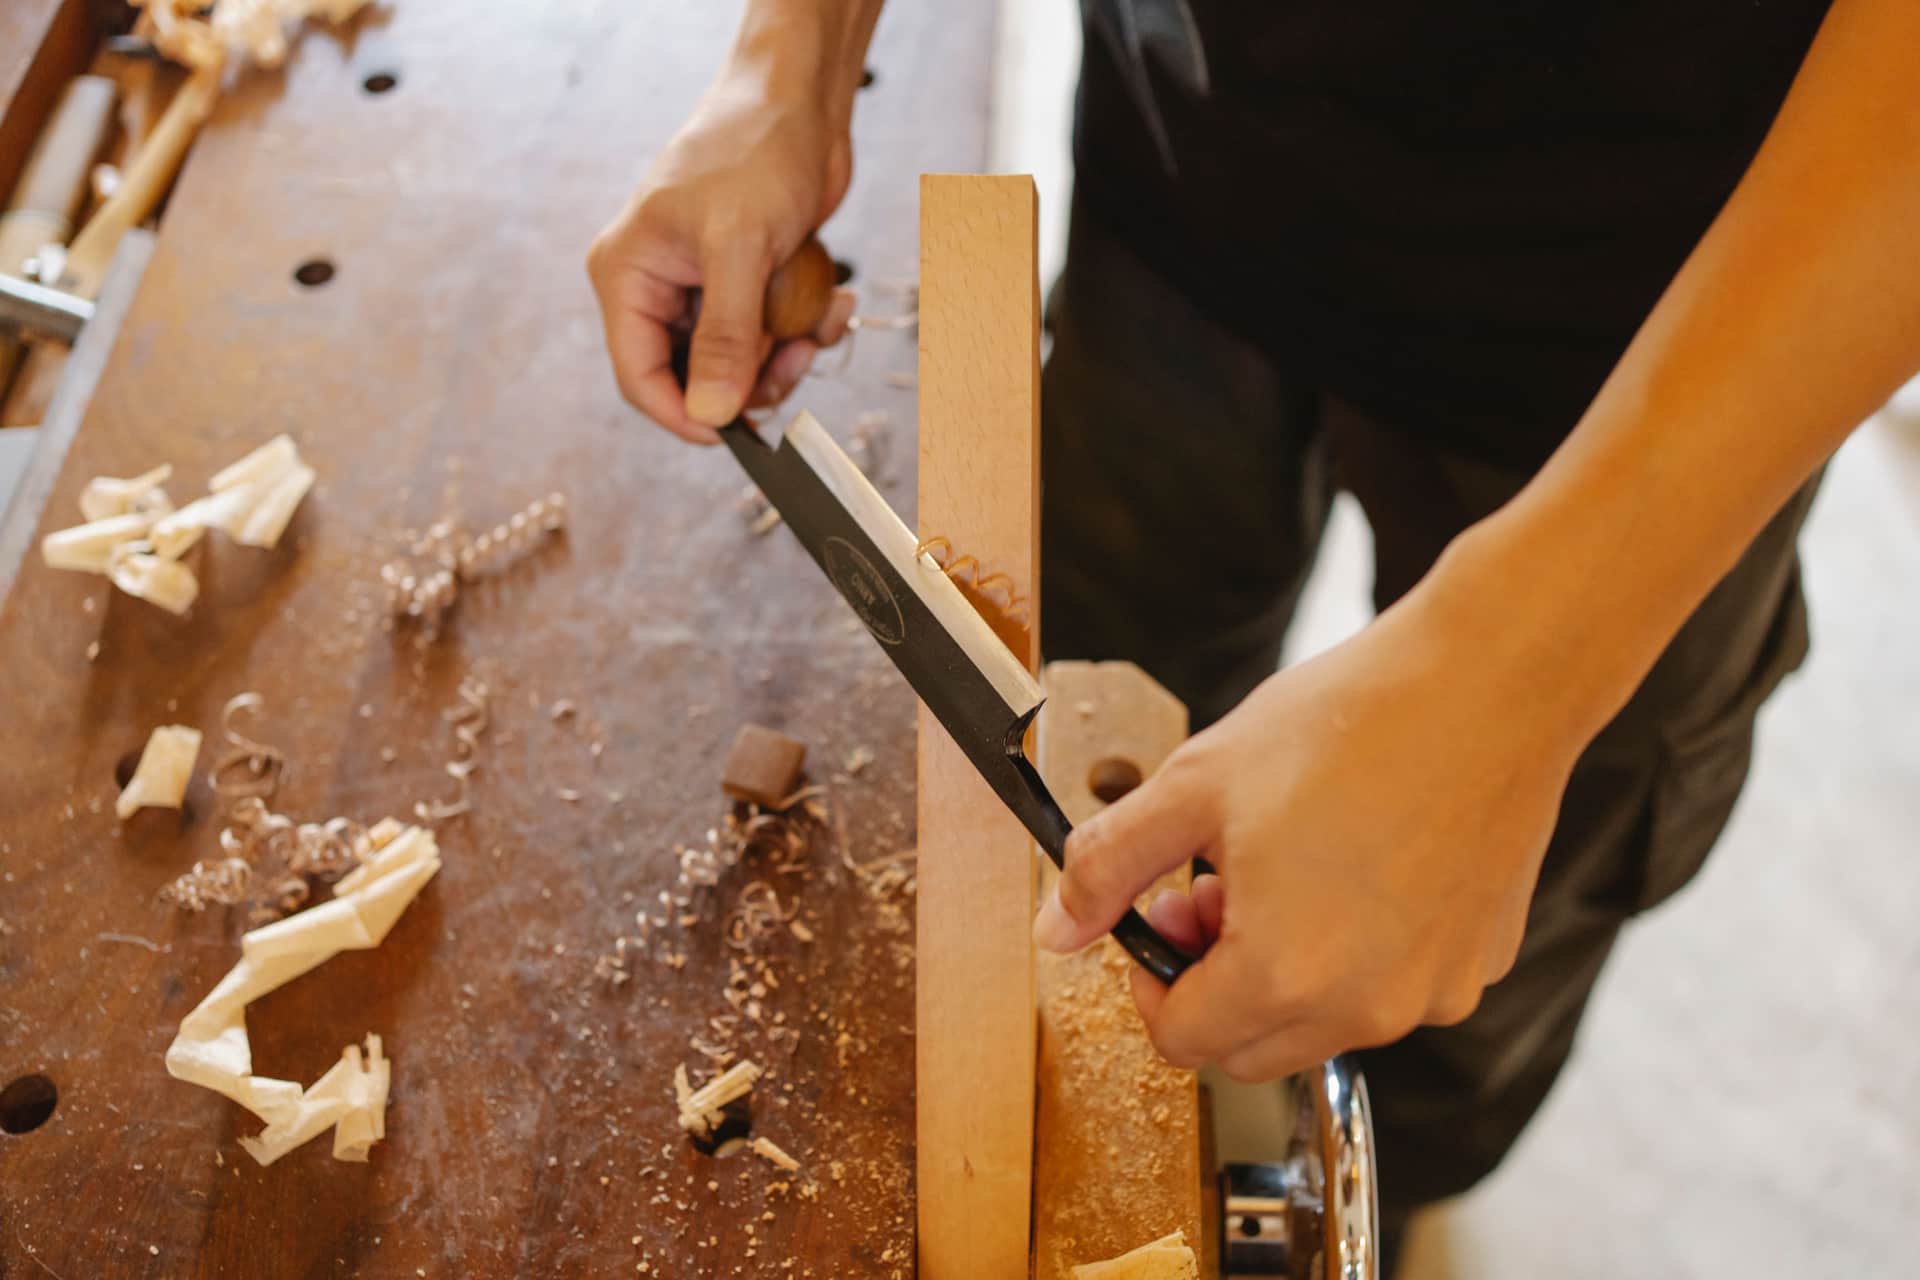
A chisel is the most direct tool in the workshop: a sharpened edge on the end of a handle, driven by your hand or a mallet. That directness is why it rewards good habits and punishes bad ones immediately. None of what follows is difficult, but the whole difference between someone who looks comfortable with a chisel and someone who does not is in these habits.
Before any of it: the chisel has to be sharp. A dull chisel forces you to push harder, and a tool you are forcing is a tool that is about to slip. If yours has never been touched since it left the factory, start with how to sharpen a chisel and how to flatten a chisel back, because a chisel that is not sharp will teach you the wrong lessons about technique.
How to hold it
There are two grips and you will switch between them constantly. For controlled paring you hold the blade itself, thumb and forefinger pinching near the edge, with the handle braced against the heel of your palm or your shoulder for a long push. Guiding the steel with the hand nearest the wood is what gives you fine control; the back hand only supplies power.
For chopping you hold the handle near the top and drive with a mallet in the other hand. The rule that ties both grips together is that the hand on the blade is a brake, not a motor. It steers and it stops the cut; it does not shove. When you feel yourself gripping hard and pushing with the front hand, stop and sharpen — you are compensating for a dull edge.
Bevel up or bevel down
Which way the bevel faces changes what the chisel does, and knowing when to flip it is most of paring well.
Bevel down means the flat back rides against the work and the bevel points up at you. The flat back is a reference surface; it wants to follow the wood, so bevel-down suits chopping straight into a cut and levering waste, where the bevel acts as a wedge that lifts a chip up and away.
Bevel up means the flat back faces you and the bevel rides on the wood. Now the bevel is a ramp you can steer: tip the handle down and the edge digs in; lift it and the edge climbs out of the cut. Bevel-up is for paring to a line and for taking the last shaving off a joint, because you can control depth by feel to a hair.
The mistake beginners make is paring bevel-down against a flat surface. The flat back sits on the wood and the edge lifts away from it, so you cannot reach the fibers you are trying to shave. Flip it: back toward you, and the flat becomes a fence that keeps the cut honest.
| Task | Bevel | Why |
|---|---|---|
| Paring a tenon cheek flat | Up | Flat back rides the surface as a fence |
| Chopping a shoulder line | Toward the waste | Flat back registers the wall you are keeping |
| Cleaning a dado floor | Up | Edge steers along the bottom of the cut |
| Levering chips from a mortise | Down | Bevel works as the wedge |
| Chamfering an edge by hand | Up | Bevel meters the thickness of each shaving |
Register off a knife line, not a pencil line
A pencil line has width and sits on top of the wood; a knife line is a shallow wall cut into the wood with a marking knife. That wall is the single most useful thing in accurate chisel work, because the chisel drops into it and stops.
Set the flat back of the chisel into the knife line, bevel toward the waste, and a light tap seats the edge in the groove you already cut. The edge cannot wander because it is trapped in the wall. Pare or chop from the waste side up to that wall and the shoulder you get is exactly where the knife was — dead straight and crisp. This is how clean shoulders and tight-fitting joints are actually produced, and it has almost nothing to do with how expensive the chisel is.
Controlling depth
Depth is controlled three ways and you use all of them. First, by the angle of the handle: with the bevel riding the wood, lowering the handle steepens the cut and lifting it makes the edge climb out. Second, by how far the front hand lets the edge travel before it brakes. Third, and most reliably, by taking the waste in thin layers rather than one deep bite.
Trying to remove a lot of material in one pass is the commonest cause of a dig-in and a blown-out cut. Two or three light passes are faster than one heavy one that splits past your line, because the heavy one leaves you repairing damage. When people say a chisel “got away from them,” they almost always took too big a bite.
Chopping versus paring
These are the two families of cut and they want different technique. Paring is a slicing push by hand, for fitting and cleanup, where you are removing shavings and control matters more than force. Chopping is driving the edge in with a mallet to sever fibers and lever waste, for removing material fast.
A bench chisel does both. What a bench chisel should not do is lever heavily against deep waste — that is a mortise chisel's job, and using a bench chisel for it is how blades snap at the tang. The tool-matching question is worth reading in full on chisel types compared; the short version is that a bench chisel pares and chops joinery, and heavy levering belongs to a thicker tool.
Mallet technique
Use a mallet, not a claw hammer, on a struck chisel. A round wooden or urethane mallet lets you hit from any angle without aiming, and its softer face spreads the blow so it does not split a wooden handle. Steel hammer faces mushroom wooden handles and are only appropriate on chisels with a steel striking cap made for them.
Chop with controlled taps, not swings. A series of light blows lets you watch the line and stop; one big swing commits you to wherever the edge ends up. Let the weight of the mallet do the work and keep your eye on the edge, not the handle. Which mallet, and at what weight, is not a small question — the best woodworking mallets ranks seven of them by head material, mass and whether the face can be replaced.
Read the grain
Wood splits along its grain ahead of the edge, and a chisel will happily follow the grain down below your line if the grain runs that way. Before you pare, look at how the grain rises or dives relative to the surface, and cut “downhill” — with the grain rising away from your edge — so any split runs up out of the cut rather than diving under your line.
When you cannot avoid difficult grain, take thinner shavings and keep the chisel sharper; a keen edge severs fibers cleanly where a dull one wedges them apart and tears. On end grain, work in from both edges toward the middle so the far corner does not blow out.
The safety rule that does not change
Both hands stay behind the edge. Always. The chisel is sharp enough to open your hand to the bone and it does not care that you were being careful, so the rule is structural, not attentional: arrange the cut so that if the edge slips, it travels into wood or into open air, never toward a hand holding the work.
Clamp the workpiece rather than holding it. A chisel needs one hand to steer and one to power, which is already two hands, and the work needs to be still. If you find yourself pinning the wood with the same hand that is near the edge's path, stop and clamp it. Every serious chisel injury is a version of the same story: the work moved, or the hand was in front of the edge.
None of this is advanced. Sharpen the tool, hold it so the front hand brakes, register off a knife line, take thin cuts, match the bevel direction to the job, and keep your hands behind the edge. Do those six things and you will look like you have used a chisel for years, because those six things are the whole of what people who have used one for years are actually doing.
The one chisel this does not apply to
Everything here assumes a woodworking chisel. A cold chisel looks similar, is ground at roughly 60 degrees rather than 25 to 30, and is for shearing metal — and the two fail in opposite ways when they are swapped. Wood chisel vs cold chisel covers the differences, including why a mushroomed cold chisel is the one genuinely hazardous tool in this family.
Questions
Frequently asked
Which way should the bevel face on a chisel?
Bevel down to chop into a straight line and to lever waste, because the flat back is a reference surface. Bevel up to pare to a line, because the bevel becomes a ramp you steer by raising or lowering the handle. Flipping between them is most of paring cleanly.
Do you push a chisel or hit it?
Both, depending on the cut. Paring is a hand push for fitting and cleanup; chopping is driven with a mallet to sever fibers and lever waste. A bench chisel does both — only heavy levering against deep waste needs a thicker, different tool.
Why does my chisel dig in and dive below the line?
Usually you are taking too big a bite or cutting against the grain. Take two or three thin passes instead of one deep one, and cut with the grain rising away from the edge so a split runs out of the cut rather than under your line.
What should I hit a chisel with?
A round wooden or urethane mallet, not a steel hammer, unless the chisel has a steel striking cap built for one. A mallet spreads the blow so it does not split the handle and lets you strike from any angle without aiming.
How do I get a clean, straight shoulder?
Register off a knife line, not a pencil line. A knife cuts a shallow wall into the wood; drop the flat back of the chisel into that wall, bevel toward the waste, and the edge is trapped exactly where you marked. Pare up to it from the waste side.
Keep reading
Related
- How to sharpen a chiselA tool you are forcing is about to slip; start here.
- How to flatten a chisel backThe flat back is half of every cut in this guide.
- Chisel types comparedWhich chisel is built for the cut you are making.
- Paring chisels explainedWhen a bench chisel's reach and control start to run out.
Back to Chisels · how we pick · editorial policy