Hand Saws
How To Cut Dovetails By Hand
The joint that looks like a rite of passage is really five ordinary operations done carefully, and the sawing is not even the hard part.
We earn a commission when you buy through our Amazon links, at no extra cost to you. It never decides a ranking, and where the best tool in a class is one we earn nothing on, we say so and link it anyway. How this works.
A dovetail is not a hard joint to understand. Wedge-shaped tails on one board drop between matching pins on the other, and once glued the wedge shape means the joint cannot pull apart in the direction it is loaded. It has a reputation because it is fiddly to cut accurately by hand, not because the idea is complicated. Break it into the operations below and each one is ordinary.
Marking out
Everything downstream depends on accurate layout, so this is where to be slow. Set a marking gauge to the exact thickness of the mating board and scribe a baseline all the way around both workpieces. That scribed line is the depth your saw cuts to and the wall your chisel registers against, so it has to be crisp and it has to be right. A wheel-style marking gauge scores rather than tears the fibers and is the tool to reach for here.
Lay out the tail spacing on the end grain and square the lines across the face down to the baseline. There is no single correct spacing — narrower pins look finer, wider ones are stronger and faster to cut — but keep the two half-pins at the edges, because a tail running out to the corner has nothing holding it. Mark the waste clearly with a pencil so you never saw the wrong side of a line. Sawing the waste side of every line is the habit that saves the joint.
Tails first or pins first
This is the one genuine choice, and it is close to a religious argument among woodworkers. In tails-first, you cut the tails, then stand the tail board on the end of the pin board and knife the pins directly from the tails you already cut. In pins-first, you do the reverse. Both work, and both are used by excellent makers.
For a first joint, cut tails first. The tail cuts are simpler to saw — the angle is cut into the face, so you can see the line the whole way down — and transferring their shape to the pins gives you a physical template to knife against rather than a second set of independent measurements to get right. The single most useful rule of dovetailing is that the two halves only have to match each other, not some ideal; marking one from the other builds that in.
Sawing the tails
Clamp the board upright, angle it in the vise so the first set of tail cuts is vertical, and saw. Start the kerf with light draw strokes as with any cut, keep your eye directly over the plate, and saw down to — but not past — the baseline, staying on the waste side of each knife line. Split the line, do not cut inside it; a tail sawn a hair fat can be pared to fit, a tail sawn thin is gone.
The saw for this is a backed joinery saw with a very fine tooth count: a Japanese dozuki or a western dovetail saw. A dozuki cuts the narrowest kerf of anything you can buy and is the reason the cheapest one outperforms far pricier western backsaws — the ranked options are on the best dovetail saws, and how a dozuki compares to a general-purpose ryoba is covered on ryoba vs dozuki. Once the angled cuts are done, reset the board vertical and saw the other set. Consistency in the angle matters more than the exact angle you pick.
Removing the waste
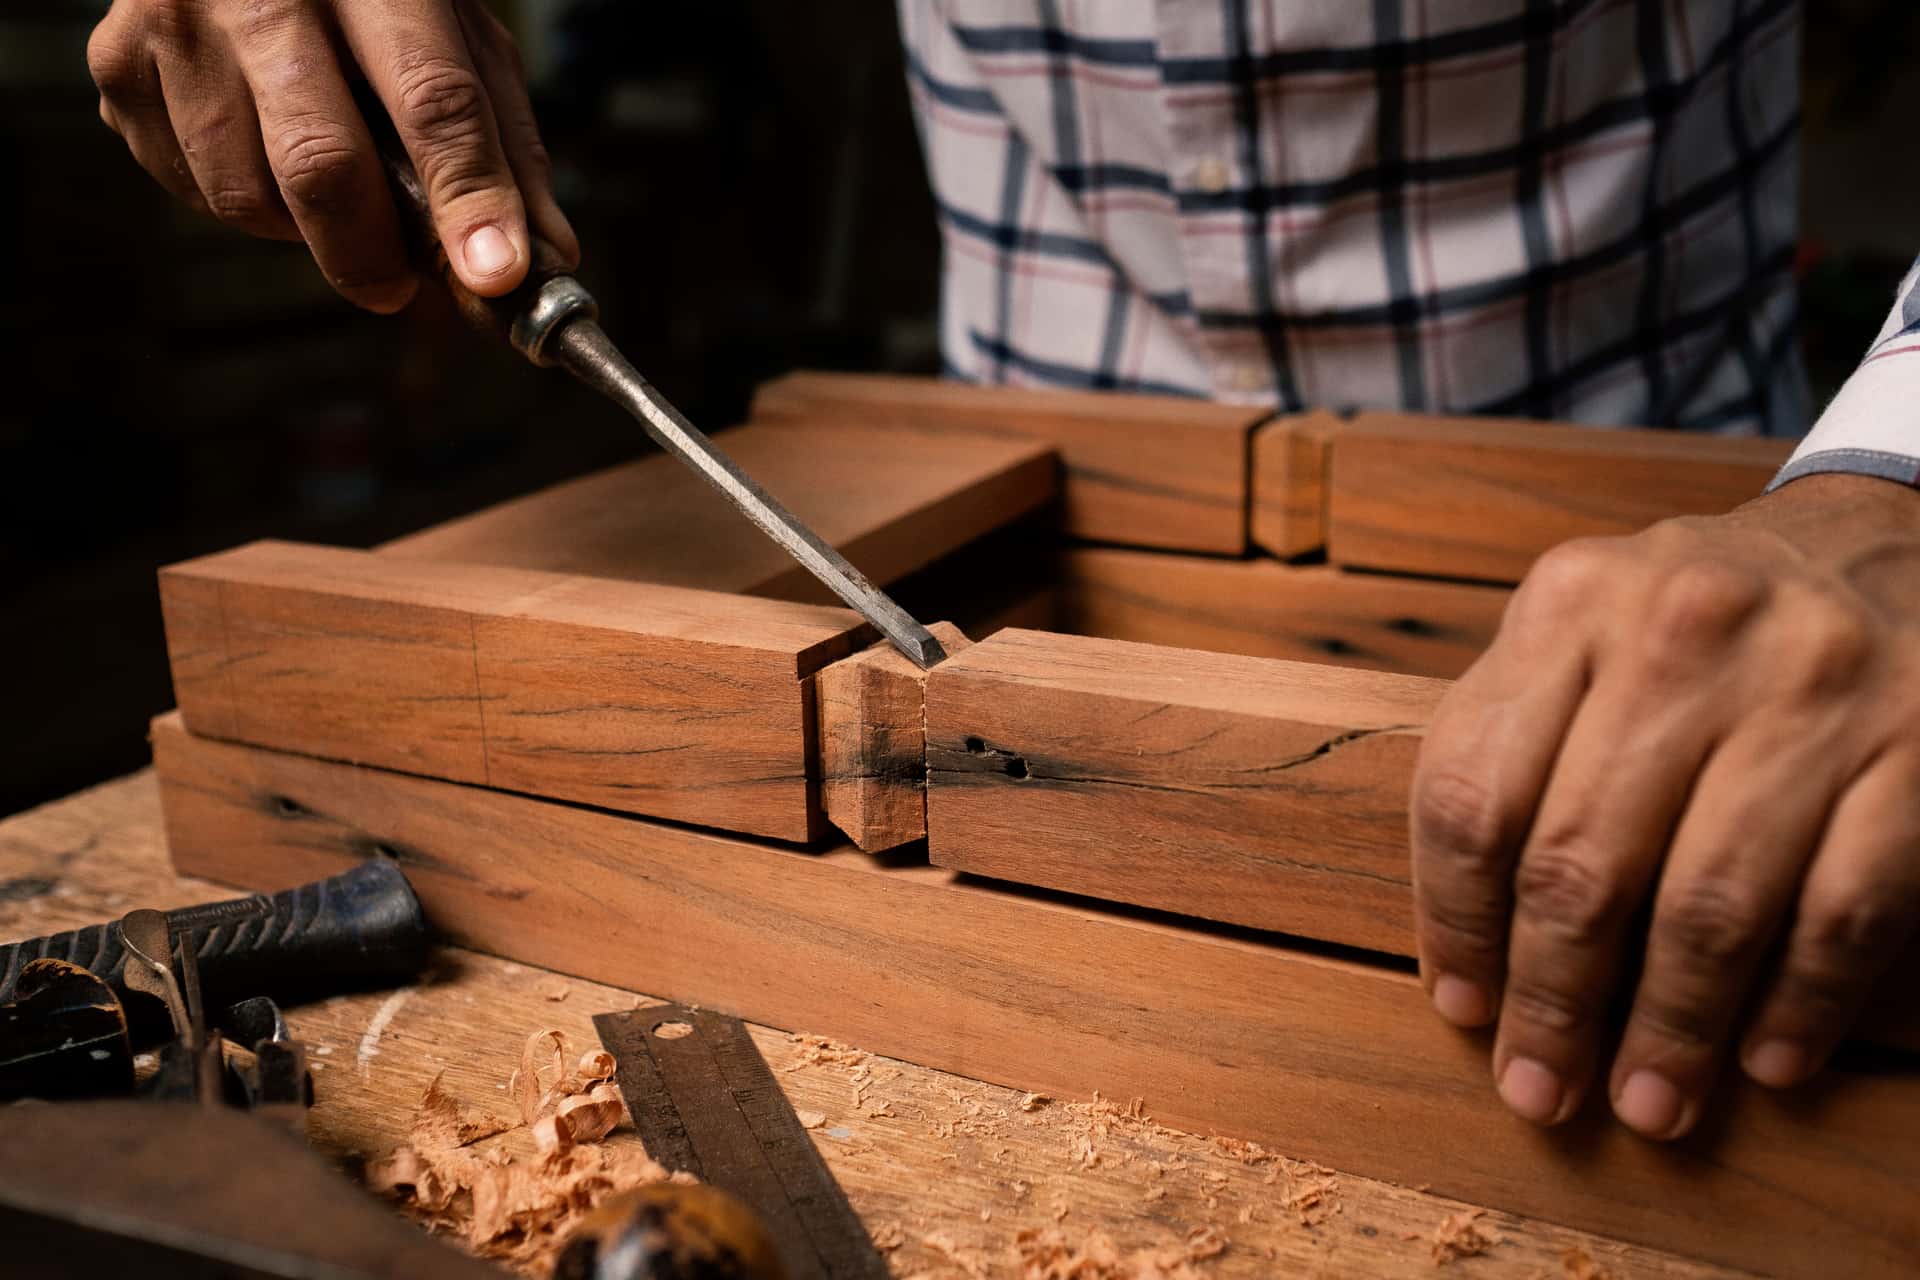
Two ways, and most people use both. A coping saw dropped into one saw kerf can turn and cut across near the baseline, lifting most of the waste out in one pass and leaving only a little to pare back to the line. Or you chop the waste out with a chisel from both faces, working in from each side to avoid blowing out the back.
To chop: set the chisel in the scribed baseline with the flat back toward the waste, and drive it with a mallet in a series of light cuts, taking a small chip each time and levering the waste up. Come at it from both faces and meet in the middle so no fibers tear out on the show side. Do not try to reach the baseline in one heavy blow; the chisel will crush past your line. A sharp chisel is not optional here, and how to hold and drive one is covered in how to use a chisel.
Transferring and cutting the pins
With the tails cut and cleaned, stand the tail board precisely on the end of the pin board, aligned to the baseline, and run a marking knife around each tail to scribe its exact shape onto the end grain of the pin board. This is the step that makes tails-first worth it: the pins are now marked from the real tails, so if your tails were slightly irregular the pins will match that irregularity exactly.
Square those knife marks down to the baseline, mark the waste, and saw the pins the same way — waste side of the line, down to but not past the baseline, eye over the plate. Then remove the waste between the pins as before. Because the pin cuts are on the end and angle away from you, they are slightly harder to see; a small mirror or simply leaning to sight down the line helps.
The tools you actually need
Fewer than the joint's reputation suggests. A fine backed saw, two or three sharp chisels, a marking gauge, a marking knife, a square and a mallet cover it. Everything else is refinement.
- A dovetail saw— a Japanese dozuki or a western dovetail saw. This is the cut that decides the joint, so it is where the money goes.
- A wheel or cutting gauge for the baseline, which scores the fibers rather than tearing them.
- A marking knife for transferring the tails to the pins and for crisp layout lines.
- Sharp bench chiselsfor chopping and paring the waste — a narrow one reaches between tight pins.
- A coping sawif you would rather saw the waste out than chop all of it — the best coping saws ranks the frames, and explains why a fret saw cuts closer to the baseline.
Through and half-blind dovetails
The joint described here is a through dovetail, where the tails and pins show on both faces — the classic corner of a box or a drawer back. A half-blind dovetail hides the joint on one face, which is what you see on the front of a good drawer: the tails stop short so they do not break through the drawer front.
Half-blind dovetails are cut the same way with one added constraint. The pin sockets are chopped rather than sawn all the way through, because the saw cannot run out the front face without showing. That means more chisel work and a slower, more careful excavation, but the marking and sawing logic is identical. Learn the through dovetail first; the half-blind is the same skills with more paring and less sawing.
Fit and paring
Now the payoff. Offer the joint together by hand. If it is cut well it should start square and go partway with hand pressure. Where it binds, find the high spot — a smear of pencil on the tails will rub off on the pin that is too tight — and pare it back with a chisel a shaving at a time, testing between cuts. Pare, test, pare, test. This is slow and it is where a joint goes from “nearly” to “airtight,” so resist the urge to force it home before it is ready. A joint driven together while still tight will split the thin material at the pins.
A first dovetail that needs a lot of paring is a normal first dovetail. The gaps get smaller every time you cut a set, because the errors you are correcting are in your sawing and your layout, and both improve fast with repetition. If you want a bigger saw for the deeper cuts on large carcase work, the size and family trade-offs are on tenon saw vs dovetail saw.
Where beginners lose the joint
- Sawing the wrong side of the line. Always leave the knife line and saw in the waste; a cut on the line removes the fit.
- A pencil baseline. Scribe it with a gauge. A crisp scored line stops the chisel and sets the depth; a pencil line gives it nothing to register against.
- Chopping to the baseline in one blow. The chisel crushes past a heavy cut. Take small chips and sneak up on the line.
- Forcing a tight joint home. Find the high spot and pare it; driving a tight joint together splits the thin material at the pins.
- Rushing the tails. Every error in the tails is copied into the pins when you transfer them. Slow tails make fast pins.
Why cut them by hand at all
A machine cuts dovetails faster and more uniformly, so the honest reason to cut them by hand is not speed. It is that a hand-cut joint can be laid out to any spacing and proportion you like, on stock of any thickness, with no jig to set up — and that the skills it teaches, sawing to a line and paring to a fit, are the same skills every other hand joint needs. Learn dovetails and tenons, housings and chamfers all come easier, because the underlying control of saw and chisel is shared. The first joint is slow and imperfect. By the fifth the gaps are gone, and the saw and chisel start to feel like extensions of your hands rather than tools you are wrestling.
Questions
Frequently asked
Should I cut tails or pins first?
For a first joint, tails first. The tail cuts are easier to see and saw, and standing the finished tail board on the pin board lets you knife the pins directly from the real tails. That gives the two halves a physical template to match, instead of two independent sets of measurements to get right.
What saw do I need to cut dovetails by hand?
A fine backed joinery saw: a Japanese dozuki or a western dovetail saw. The dozuki cuts the narrowest kerf you can buy and is what lets the joint close tight. A coping saw is a useful second saw for clearing the waste between the cuts.
How do I remove the waste between dovetails?
Either drop a coping saw into a kerf and turn it to cut across near the baseline, lifting most of the waste out at once, or chop it with a chisel working in from both faces so nothing tears out on the show side. Most people saw the bulk and pare the rest.
Why do my dovetails have gaps?
Usually the saw drifted off the line or the waste was pared past the baseline. Saw the waste side of every knife line so a fat cut can be pared to fit, mark from a knife rather than a pencil, and take the fit down slowly a shaving at a time. Gaps shrink quickly with practice.
Do dovetails need to be sawn with rip teeth?
Technically dovetails are cut along the grain, so a rip filing is correct, and western dovetail saws use it. At the very fine tooth counts on a Japanese dozuki the distinction matters much less, and crosscut-filed dozuki cut dovetails superbly. Do not overthink it.
Keep reading
Related
- The best dovetail sawsThe saw that actually cuts to the line, ranked.
- Tenon saw vs dovetail sawWhich backed saw for which size of joint.
- How to use a chiselHalf of a dovetail is chopped and pared, not sawn.
- Ryoba vs dozukiThe Japanese joinery saw, and its general-purpose sibling.
- Coping saw vs fret sawBoth are a thin blade stretched in a frame, and they are still not interchangeable.
Back to Hand Saws · how we pick · editorial policy