Hand Planes
Hand Plane Troubleshooting
Almost every plane problem is one of eight symptoms, and each one points at a short list of causes.
We earn a commission when you buy through our Amazon links, at no extra cost to you. It never decides a ranking, and where the best tool in a class is one we earn nothing on, we say so and link it anyway. How this works.
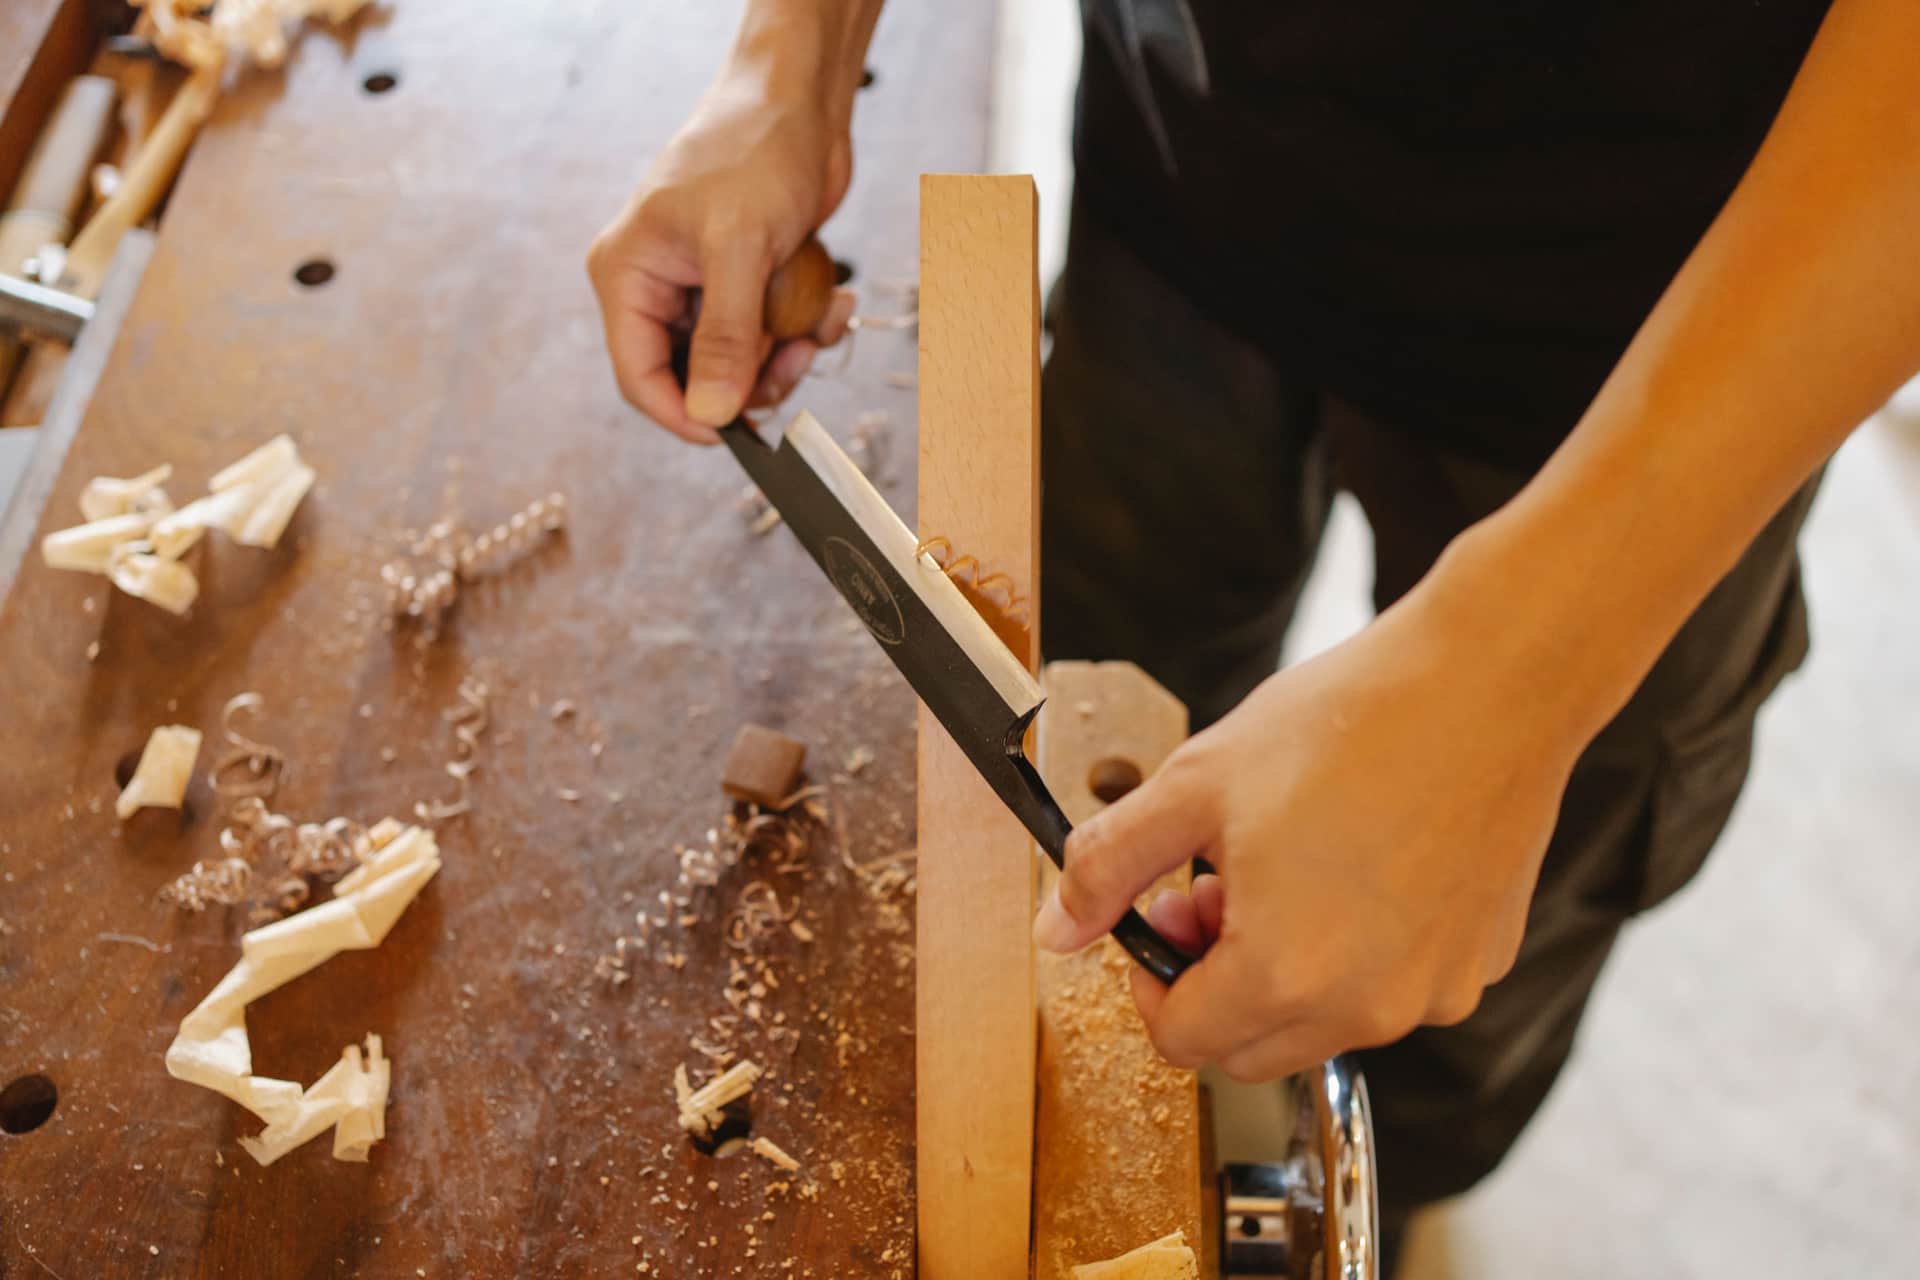
A hand plane has very few moving parts and a small number of ways to misbehave. That is good news: almost everything that goes wrong presents as one of eight symptoms, and each symptom points at a short list of causes you can work through in order. The trick is to diagnose from the wood and the shaving rather than guessing, because the same complaint — “it won't cut right” — comes from a dull iron on one plane and a mis-seated frog on the next.
Two causes sit behind a startling share of all plane problems, so rule them out first every time. The first is a dull iron: planes are sold with a ground shape, not an edge, and an edge dulls with use, so “sharpen it” is the honest first answer more often than any other. The second is a setup fault— frog, chipbreaker, depth, lateral — that was never right to begin with. If you have not yet worked through how to set up a hand plane, do that before you treat anything below as a defect.
The diagnosis table
Read the symptom, then work the causes top to bottom — they are ordered by how often they turn out to be the culprit.
| Symptom | Most likely cause | Fix |
|---|---|---|
| Tear-out (torn, pitted grain) | Chipbreaker set too far back; mouth too open; cutting angle too low; dull iron. | Move the chipbreaker close to the edge; tighten the mouth; raise the effective angle; sharpen. |
| Chatter (washboard ripples) | Frog not seated on its full face; lever cap too loose; iron too thin; sole rocking. | Clean and file the frog seat; tension the lever cap; back a thin iron with a thicker one; check the sole. |
| Won't take a shaving at all | Iron not projecting; iron retracted below the sole; dull edge. | Advance the depth adjuster a fraction of a turn until the edge appears; sharpen if it is dull. |
| Mouth clogs / shavings jam | Gap under the chipbreaker; mouth too tight for the shaving; chipbreaker edge not honed. | Seat the chipbreaker dead flat on the iron; open the mouth or take a finer shaving; hone the chipbreaker's leading edge. |
| Tracks / plane lines on the surface | Iron corners projecting; no camber or relief at the edges; nick in the edge. | Ease the corners with a camber or a light relief; hone out the nick; even the lateral setting. |
| Skipping / chattering start of stroke | Toe not registering; too heavy a cut; approaching at the wrong angle. | Press the toe down to start; lighten the cut; skew the plane slightly into the cut. |
| Digging in / gouging | Iron too far out; corners proud; starting flat instead of leading with the toe. | Retract and re-set the depth; ease the corners; lead onto the work with weight on the toe. |
| Blade won't advance / adjuster spins free | Backlash in the adjuster; worn adjuster fork; iron caught on debris. | Always make the final adjustment while advancing to take up backlash; clean the adjuster yoke; free the iron. |
Tear-out, the one everyone meets
Tear-out is the plane lifting a chip out of the surface instead of shearing it, and it happens where the grain dives down into the board so the blade splits ahead of the edge. The single most effective control is the chipbreaker (cap iron): set its leading edge a fraction of a millimeter behind the cutting edge and it folds and breaks the shaving before it can lever a chip up. Almost nobody sets it aggressively enough. Backing that up, a tight mouth supports the fibers right at the cut, and a higher cutting angle scrapes more than it slices. If your plane is bevel-up you raise the angle by grinding a steeper bevel; if it is bevel-down you rely on the chipbreaker and mouth, which is one of the practical differences worked through in bevel up versus bevel down.
Chatter, the one blamed on cheap planes
Chatter is the iron vibrating against the work and leaving a fine washboard. It is real, and it is almost always a bedding problem rather than a quality problem. The iron has to be supported rigidly, and the two places support goes missing are the frog (which must contact the casting on its whole face, not three high spots) and the lever cap(which must be tensioned enough that the iron cannot move under hand pressure). A thin, flexible iron makes it worse, which is why thicker aftermarket irons are a common cure on budget planes. Only after all of that should you suspect the sole rocking on a high spot — and if you do, diagnose it properly with how to flatten a plane sole before you remove any metal.
When the plane simply will not cut
Two states look identical and are opposite problems. If the plane produces dust, the iron is dull — a sharp edge makes shavings, a dull one makes powder, every time. If the plane produces nothing, the iron is not projecting through the mouth; advance the depth adjuster a hair at a time until the edge appears as a hairline when you sight down the sole. If it takes a shaving from only one side, the iron is skewed — move the lateral lever toward the side that is not cutting. Those three diagnoses cover the overwhelming majority of “my new plane is broken” messages, and none of them is a broken plane.
The backlash trick nobody tells beginners
Every Bailey-pattern depth adjuster has slack in it. Turn the knob and the iron does not move until the mechanism takes up its own play. The consequence: always make your final depth adjustment while advancing the iron, never while retracting. If you overshoot, back off well past the target and come up to it. Set the depth on the retract stroke and the iron creeps under the first cut and ruins your setting. This is not a fault; it is how the mechanism works, and knowing it removes an entire category of frustration.
Clogging: the fault that feels like a broken plane
A plane that jams solid mid-stroke, with a shaving wedged in the throat, feels like a serious problem and almost never is. The usual cause is a gap between the chipbreaker and the iron: if the leading edge of the chipbreaker does not sit perfectly flat on the iron, shavings drive under it and pack the throat until nothing moves. Take the iron out, look along the chipbreaker's front edge against the light, and hone it on a stone until it beds with no gap. The second cause is asking a tight mouth to pass a thick shaving — either open the mouth or take a finer cut. Wet or resinous timber clogs more readily too, and a touch of wax on the sole and in the throat helps the shavings slide clear.
Skipping, digging and the plane that pulls to one side
These three are all about how the plane meets the wood rather than how it is set. A plane that skipsat the start of a cut is not registering on the toe — begin the stroke with your weight forward so the toe leads, then shift weight to the heel as you finish, and the plane tracks cleanly onto and off the board. A plane that digs in is usually taking too heavy a cut or has its corners projecting; retract the iron, ease the corners and lead with the toe. A plane that pulls to one sideor cuts a tapered shaving has the iron set unevenly — the lateral lever moves the edge until it projects the same amount across the full width, which you confirm by sighting down the sole. None of these is a fault in the plane; all three are the operator and the setting, and all three come right with a few minutes of attention.
When a part is genuinely worn out
Most “worn out” planes are not; they are dirty, dull or badly set. But real wear does happen, and it is worth knowing what it looks like. An adjuster that spins with no effect at all, well past normal backlash, usually has a worn brass adjusting nut or a bent yoke — both are cheap, common replacement parts on any Bailey-pattern plane. A chipbreaker with a rounded or nicked front edge will never stop clogging until it is re-honed or replaced. A cracked casting, most often at the mouth or a handle boss, is the one failure that can end a metal plane, though even that is sometimes repairable. The good news for anyone buying for the long term is that on the common patterns almost every part is available, which is a large part of why a well-chosen plane is a lifetime tool — the reasoning is in hand plane brands compared.
Rule out the wood, not just the plane
Sometimes the tool is fine and the timber is the problem. Highly figured, interlocked or reversing grain tears out under almost any setup, and the fix is technique rather than repair: close the mouth, set the chipbreaker very close, raise the effective cutting angle, take a thinner shaving, and try planing in the other direction. Damp or freshly milled wood behaves differently from dry stock, and a board with embedded grit or a hidden nail will nick an edge in a single pass. Before you conclude a plane is faulty, make sure you are not asking it to do something no plane would do cleanly — the honest boundary of what hand tools can and cannot manage is part of hand plane vs power tools.
The order to work in
When a plane misbehaves, resist swapping parts. Sharpen first, because it is free and it is usually the answer. Check the setup second, in the sequence in how to sharpen a plane iron and the setup guide. Only reach for the sole, a new iron or a new plane when the diagnosis genuinely points there. A methodical pass down the table above will fix nearly everything, and it will stop you spending money on a problem an edge would have solved.
Questions
Frequently asked
Why does my hand plane cause tear-out?
Usually the chipbreaker is set too far from the edge, the mouth is too open, or the cutting angle is too low for the grain. Move the chipbreaker to within a fraction of a millimeter of the edge, tighten the mouth, and on difficult grain raise the effective cutting angle. A dull iron makes all of it worse.
What causes chatter on a hand plane?
The iron vibrating because it is not rigidly supported. Check that the frog contacts the casting on its whole face, that the lever cap is tensioned firmly, and that the iron is not too thin. A rocking sole is the last suspect, not the first. If everything else checks out and a thin factory iron is what is left, a heavier blade is the fix — the purchasable options are ranked on the best replacement plane irons.
Why is my plane making dust instead of shavings?
The iron is dull. A sharp edge shears fibers into a continuous shaving; a dull one crushes them into powder. Sharpen it — there is no setting that turns dust back into shavings.
Why does my plane leave lines or tracks in the wood?
The corners of the iron are digging in. Ease them with a slight camber or a light relief at each corner so the edge tapers away, hone out any nick, and even up the lateral setting so one corner is not projecting more than the other.
Why won't my plane blade advance when I turn the adjuster?
Backlash. The adjuster has built-in slack and the iron does not move until that play is taken up. Always make the final adjustment while advancing the iron; if you overshoot, back well off and come up to the setting again. A worn adjuster fork or debris in the yoke can also be the cause.
Why does my plane skip or chatter at the start of the stroke?
The toe is not registering as you enter the cut. Start each stroke with your weight on the front of the plane so the toe leads onto the work, lighten the cut, and skew the plane slightly into the grain.
Keep reading
Related
- How to set up a hand planeRule out the setup faults that masquerade as defects.
- How to sharpen a plane ironThe free fix that solves more plane problems than any other.
- How to flatten a plane soleFor the chatter and rocking that really do trace to the sole.
- Bevel up vs bevel downWhy your options for beating tear-out depend on which system you own.
- What is a cap ironThe unglamorous second blade that does more to stop tearout than anything else on the plane.
- The best replacement plane ironsWhen the iron really is the fault, these are the blades you can actually buy.
Back to Hand Planes · how we pick · editorial policy