Hand Planes
How to Set Up a Hand Plane
Most disappointment with a new plane is a setup problem, and the whole procedure takes about an hour once.
We earn a commission when you buy through our Amazon links, at no extra cost to you. It never decides a ranking, and where the best tool in a class is one we earn nothing on, we say so and link it anyway. How this works.
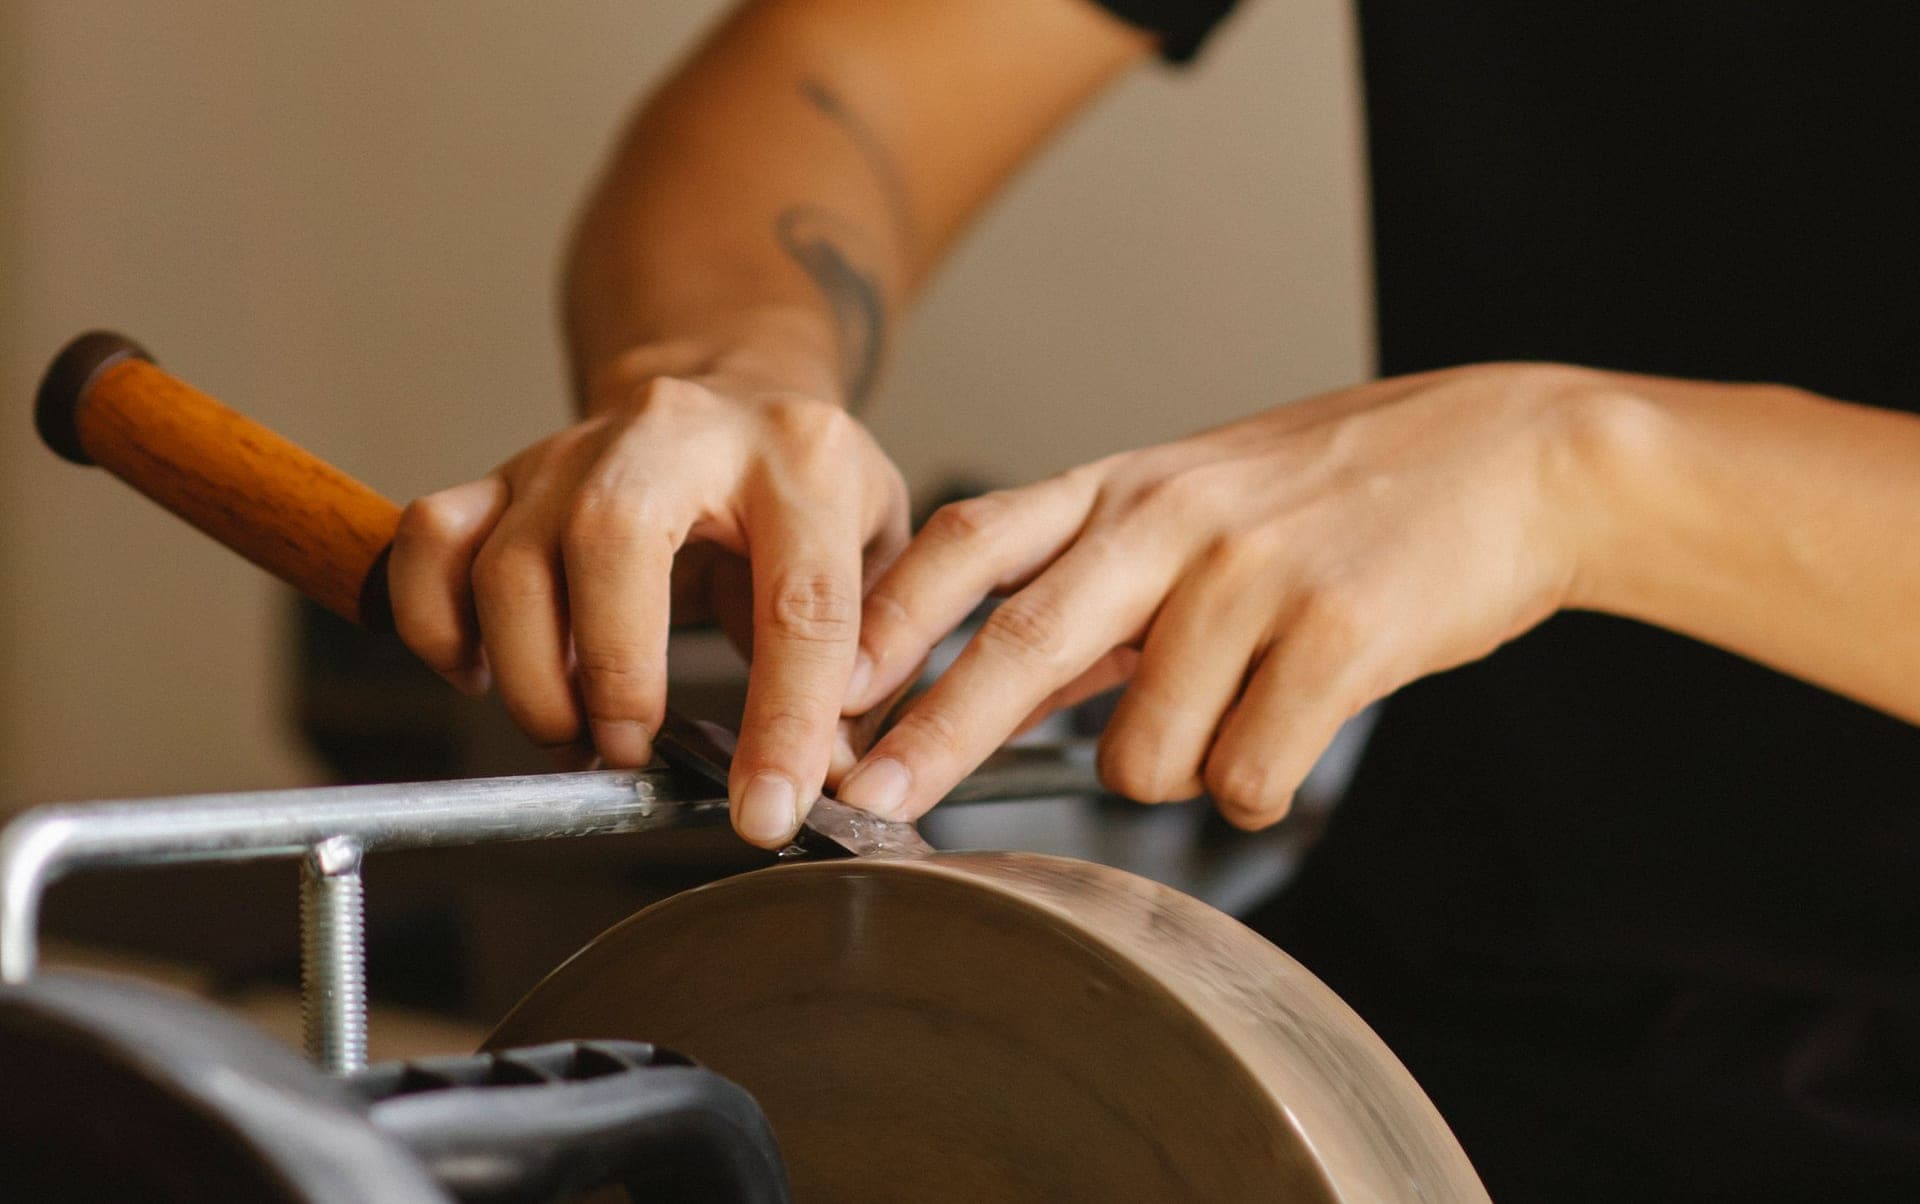
Every plane on this site arrives as a kit of correctly shaped parts rather than a working tool, and the manufacturers say so in their manuals. An edge cannot survive shipping and shelf time, so what you get is a ground shape. This is the hour that turns it into a plane.
Do it in this order. Several steps depend on the ones before them, and doing them out of sequence means doing some of them twice.
1. Lap the back of the iron
This is the step people skip and it is the one that matters most. A cutting edge is the intersection of two surfaces. You can hone the bevel to perfection and if the back is not flat where it meets the bevel, there is no edge there — just two curved surfaces approaching each other.
Work the back flat on a coarse stone until the first half inch behind the edge is uniformly scratched, then refine through your grits. You do not need to flatten the whole iron; the first half inch is the only part that will ever be at the edge. This can take twenty minutes on a budget iron and two minutes on a premium one, and the difference in that number is a large part of what the price difference buys.
2. Hone the bevel
25 degrees is the standard primary bevel for a bevel-down bench plane iron; 30 for a secondary micro-bevel if you use one. Use a guide. Freehand sharpening is a worthwhile skill and the day you set up a new plane is not the day to practice it. Full detail in how to sharpen a plane iron.
You are done when you can feel a burr along the whole width of the back, and then you have removed that burr on a strop or a fine stone.
3. Check the sole
Put the sole on something known flat — a piece of float glass, a machinist's straightedge, the cast table of a machine — and look for light underneath. What matters is not perfect flatness but flatness in three places: immediately in front of the mouth, the toe, and the heel. Those three establish the reference. A hollow in the middle is largely harmless.
If it needs lapping: wet-dry sandpaper on float glass, iron retracted but still tensioned in place (the casting flexes slightly under the lever cap, so lapping without it produces a sole that is flat only when disassembled). Work through the grits. Stop when the scratch pattern is continuous at the mouth, toe and heel.
4. Seat the frog
On a bevel-down bench plane the frog is the ramp the iron beds against. It must contact the casting cleanly — wipe both mating surfaces, look for burrs or paint, and file the high spots if there are any. A frog seated on three points instead of its whole face is the most common cause of chatter, and chatter is the most common complaint about cheap planes.
Then set the frog forward or back to control the mouth opening: forward for a tight mouth and fine shavings, back for heavy work.
5. Set the chipbreaker
The chipbreaker (cap iron) sits on top of the iron and its job is to break the shaving before it can lift and tear the fibers ahead of the edge. It is a genuinely effective tearout control and almost nobody sets it aggressively enough.
The leading edge of the chipbreaker must sit dead flat on the back of the iron with no gap — a shaving that gets under it will jam the plane solid. Then set it close to the cutting edge. A millimeter is a conservative starting point; for difficult grain, a few tenths of a millimeter.
6. Assemble and set the depth
Iron and chipbreaker in, bevel down, lever cap on and tensioned so the iron does not shift under hand pressure but the depth adjuster still turns without force.
Retract the iron until it takes nothing. Sight down the sole from the toe with the plane upside down against the light, and advance the adjuster a fraction of a turn at a time until the edge appears as a hairline. Adjust the lateral lever until that hairline is even across the mouth.
7. Take a shaving
The target is a full-width shaving that comes off in one piece and is thin enough to read through. Then diagnose:
- Dust instead of shavings— the iron is dull. Back to step 2.
- Nothing at all— the iron is not projecting. Advance it.
- A shaving from one side only— lateral adjustment. Move the lever toward the side that is not cutting.
- Thick, torn shavings— too much projection, mouth too open, or chipbreaker set too far back.
- Chatter, a washboard surface— frog not seated, lever cap not tight enough, or the iron is too thin. Back to step 4.
Then stop touching it
Once a plane is set up it stays set up. You will re-hone the iron regularly and reset the depth every time, and you should not need to revisit the sole, the frog or the chipbreaker again for years. This is a one-time hour, and it is the hour that decides whether you think hand planes are wonderful or infuriating.
Questions
Frequently asked
Why does my hand plane not take a shaving?
In order of likelihood: the iron is dull, the iron is not projecting far enough, or the lateral adjustment has it cutting on one side only. All three are minutes to fix.
How flat does a plane sole need to be?
Flat at the toe, at the heel and immediately in front of the mouth. Those three points establish the reference. A hollow in the middle is largely harmless.
How close should the chipbreaker be to the cutting edge?
About a millimeter for general work, and a few tenths of a millimeter for difficult figured grain. Closer breaks the shaving sooner and controls tearout better. It must sit flat on the iron with no gap.
Do I need to lap the whole back of the plane iron?
No. Only the first half inch behind the cutting edge will ever be part of the edge. Flat there is what matters.
How long does setting up a hand plane take?
About an hour for a new plane, longer if the sole needs lapping or the iron is badly ground. It is a one-time job: once set up, a plane stays set up apart from routine sharpening.
Receipts
Sources
- Stanley Tools — Warranty Information (limited lifetime on hand tools; excludes consumables including 'any blade'). Retrieved 2026-07-24.
- Lie-Nielsen Toolworks — Replacement Blades (A2, cryogenically treated, HRc 60-62). Retrieved 2026-07-24.
- Amazon listing for King KW65 1000/6000 Combination Whetstone — specifications and price basis, retrieved via the Amazon Product API on 2026-07-24 and refreshed on the daily price check.
- Amazon listing for Atlin Honing Guide — specifications and price basis, retrieved via the Amazon Product API on 2026-07-24 and refreshed on the daily price check.
We have not handled these tools. Nobody here has tested one, owned one, or taken one apart. Specifications come from the manufacturer or the retailer listing; warranty terms come from the maker's own warranty page; the cost-per-decade arithmetic is ours and reproducible. Where we could not verify a figure we say so on the page rather than quietly leaving it out. Read the full method.
Keep reading
Related
- How to sharpen a plane ironStep 2, in full, including what a burr tells you.
- How to restore a hand planeThe same procedure with rust removal and japanning in front of it.
- The sharpening starter kitWhat you need on the bench before step 1.
- Best hand planes for beginnersWhich planes need the least of this work out of the box.
- Shoulder plane vs rabbet planeBoth cut right into a corner, but one is built to trim a joint to fit and the other to cut the joint in the first place.
- A2 vs O1 steelBefore you flatten a back and hone a bevel, what steel you are doing it to and how long it will take.
Back to Hand Planes · how we pick · editorial policy