Chisels
How to Sharpen a Chisel
The back is the long job and almost nobody tells you that. Ten minutes once, then two minutes forever.
We earn a commission when you buy through our Amazon links, at no extra cost to you. It never decides a ranking, and where the best tool in a class is one we earn nothing on, we say so and link it anyway. How this works.
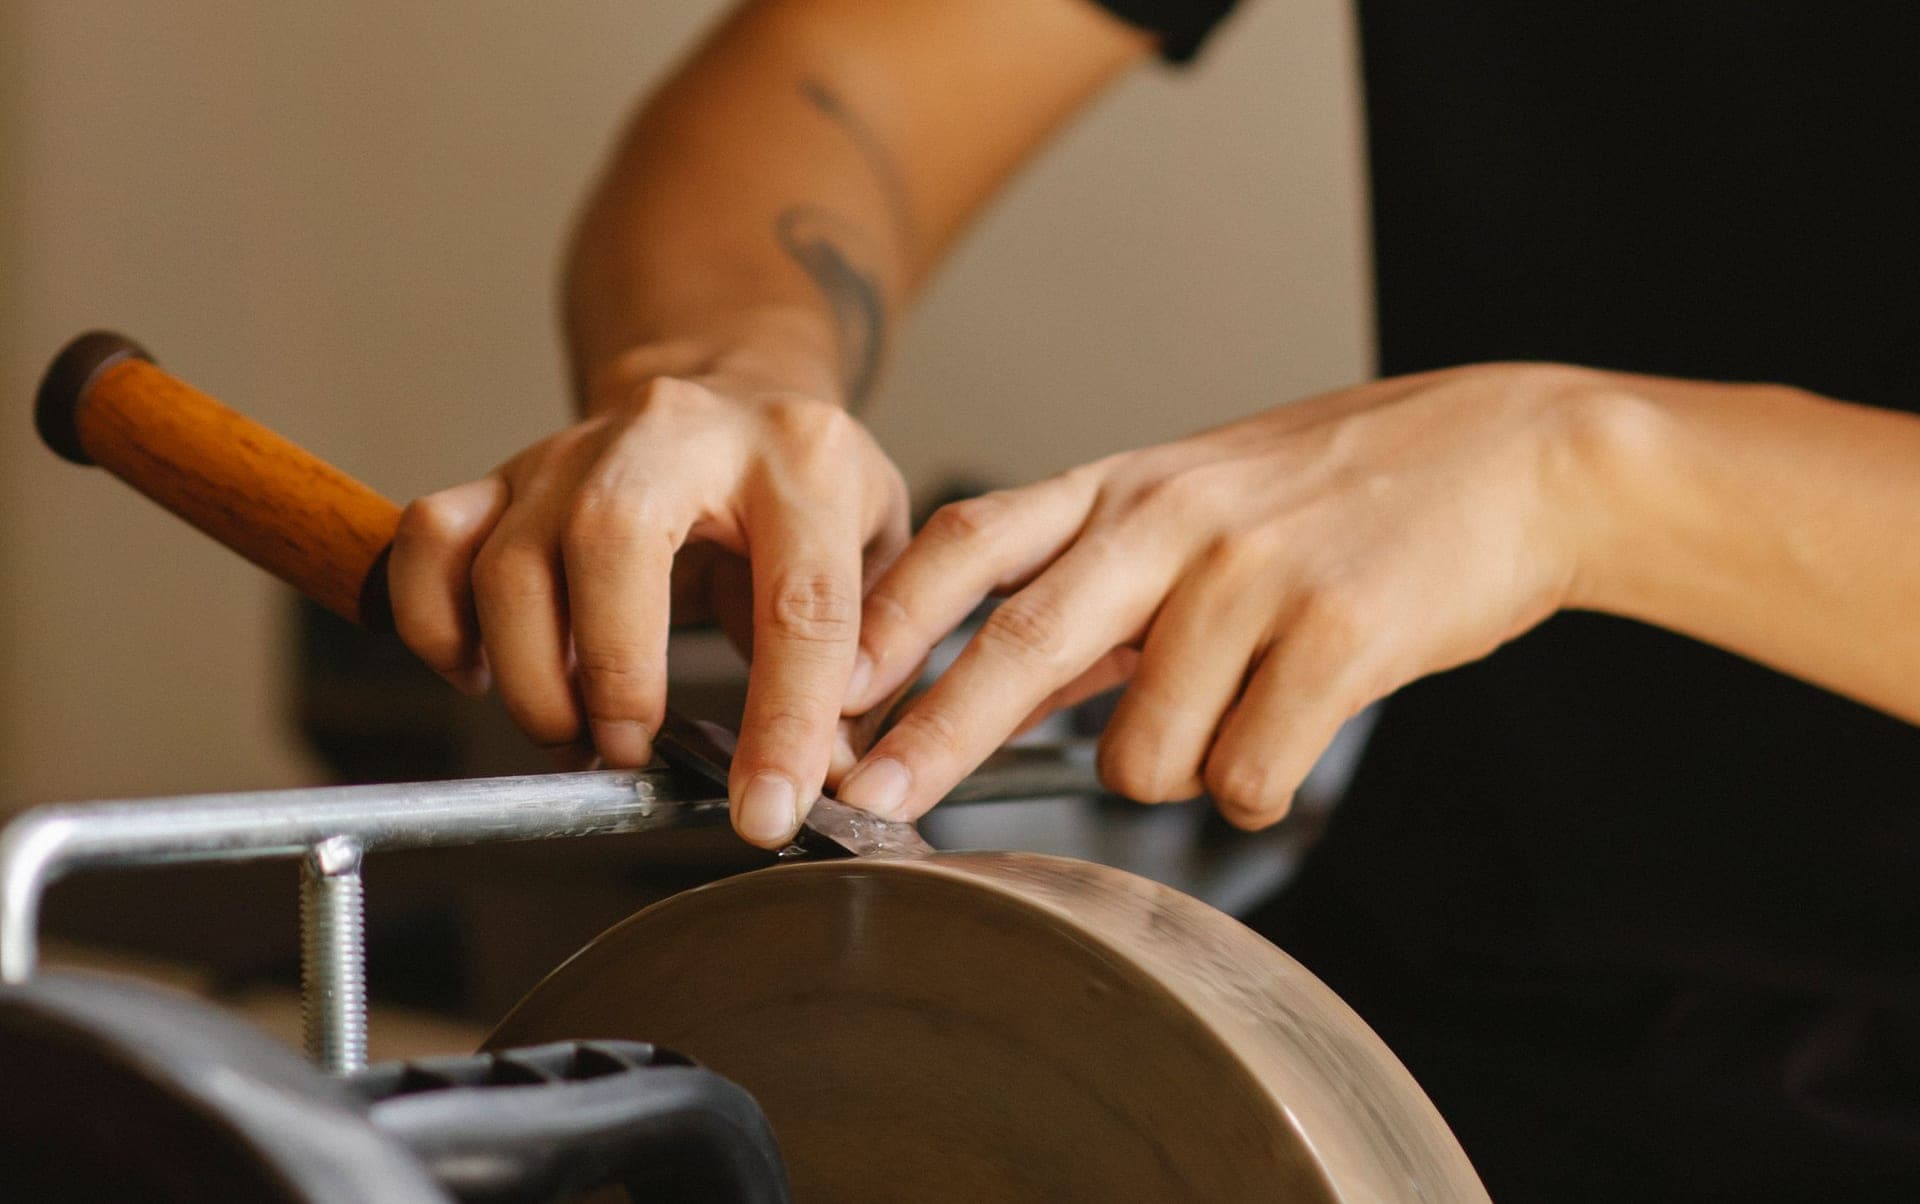
A cutting edge is the intersection of two surfaces. That single sentence explains why most chisel sharpening advice fails: it concentrates on the bevel and ignores the back, and you cannot make an edge out of one surface.
Step 1: the back. Once, properly.
You can hone the bevel to a mirror and if the back is not flat where it meets the bevel, there is no edge there — just two curved surfaces approaching each other and never quite meeting.
Lay the back flat on a coarse stone and rub until the first half inch behind the edge is uniformly scratched. Look at it in the light: any bright patches are low spots the stone has not reached, which means those areas are not part of the edge. Keep going until the scratch pattern is continuous across the full width right up to the edge, then refine through your grits.
You only need the first half inch. No part of the chisel behind that will ever be an edge, and flattening the whole back is wasted effort people do because nobody told them not to.
This is a one-time job per chisel. Ten to twenty minutes on a budget chisel, two on a premium one, and a couple of minutes on a Japanese chisel with a hollow-ground back. That time difference is most of what a chisel's price buys.
Step 2: the bevel
25 degrees is the standard primary bevel for a bench chisel. Go to 30 if you chop hardwood and find the edge chipping; go to 20 if you only pare softwood and want maximum keenness. The angle is a durability-versus-keenness trade and 25 is the sensible default.
Use a honing guide. Freehand sharpening is a worthwhile skill and it is not worth learning on the same day as learning to use the chisel — and a guide produces a geometrically correct, repeatable bevel from the first attempt. See best honing guides.
Work through your grits: coarse to establish the bevel, medium to refine it, fine to polish it. On a 1000/6000 combination waterstone that is two stages, and it is enough for a chisel.
Step 3: find the burr
This is the step that tells you whether you are done, and it is the one most people skip.
As you grind the bevel, steel is displaced rather than entirely removed, and it curls over onto the back as a fine wire edge — the burr. When you can feel a burr along the entire width of the back, the bevel has reached the back and an edge exists. Not before. Run a fingertip lightly from the back toward the edge; you will feel it catch.
If the burr is present along part of the width and missing along the rest, you have not finished — that missing section has no edge. Keep going.
Step 4: remove the burr
The burr is not an edge; it is a flap of weakened metal that will fold over in the first cut and leave you blunt. Remove it by laying the back flat on your finest stone and taking a few light passes, then a few strokes on a leather strop charged with compound.
Do not lift the back off the stone while doing this. Any angle at all puts a back bevel on the chisel, which is exactly what step 1 spent twenty minutes preventing.
The micro-bevel shortcut
Once the primary bevel is established at 25 degrees, you can add a tiny secondary bevel at 30 by tipping the guide a couple of degrees for the last few strokes on your finest stone.
The advantage is real: subsequent sharpenings only have to touch that small secondary bevel, so a resharpen takes under a minute rather than several. Regrind the full primary bevel only when the micro-bevel has grown large enough to be slow. That regrind is a coarse-stone job for most people, and a wheel job for anyone with a cabinet full of tools — the bench grinder roundup covers which machines and wheels do it without bluing the edge.
How often
More often than you think, and it takes less time than you think. A chisel that is starting to crush fibers rather than sever them is telling you it is dull; so is a chisel that needs more force than it did an hour ago.
Two minutes on the fine stone and a few strokes on the strop, and you are back. People who find sharpening a chore are usually people who let the edge get far enough gone that it is a chore — at which point it is a regrind, not a hone. Strop between sharpenings and the interval roughly doubles.
If your chisels are Japanese
Everything above assumes a western chisel: one piece of steel, a flat back, a bevel at 25 to 30 degrees. A laminated Japanese chisel changes three steps of that — the back is deliberately hollow and must not be lapped flat, the steel is harder and wants a steeper bevel, and after many sharpenings the edge needs tapping out rather than more grinding. How to sharpen Japanese chisels covers all three.
Questions
Frequently asked
What angle should I sharpen a chisel at?
25 degrees as a default. 30 if you chop hardwood and the edge chips, 20 if you only pare softwood and want maximum keenness. Full detail on sharpening angles explained.
Do I need to flatten the back of a chisel?
Yes, once, for the first half inch behind the edge. An edge is where the bevel and the back meet, so if the back is not flat there, there is no edge. Nothing further back matters.
What is a burr and why does it matter?
A fine wire of displaced steel that curls onto the back as you grind the bevel. Feeling it along the full width is how you know the bevel has reached the back and an edge exists. Then you remove it, because a burr is a flap of weak metal, not an edge.
How often should I sharpen a chisel?
Whenever it starts crushing fibers instead of severing them, or needs more force than it did earlier. With a micro-bevel that is a two-minute job. Stropping between sharpenings roughly doubles the interval.
Should I use a honing guide for chisels?
While learning, yes. A guide gives a repeatable, geometrically correct bevel from the first attempt, and the goal is a sharp chisel rather than a demonstration of skill.
Receipts
Sources
- Amazon listing for King KW65 1000/6000 Combination Whetstone — specifications and price basis, retrieved via the Amazon Product API on 2026-07-24 and refreshed on the daily price check.
- Amazon listing for Atlin Honing Guide — specifications and price basis, retrieved via the Amazon Product API on 2026-07-24 and refreshed on the daily price check.
- Amazon listing for Sharpal 205H Double-Sided Leather Strop Kit — specifications and price basis, retrieved via the Amazon Product API on 2026-07-24 and refreshed on the daily price check.
We have not handled these tools. Nobody here has tested one, owned one, or taken one apart. Specifications come from the manufacturer or the retailer listing; warranty terms come from the maker's own warranty page; the cost-per-decade arithmetic is ours and reproducible. Where we could not verify a figure we say so on the page rather than quietly leaving it out. Read the full method.
Keep reading
Related
- Sharpening angles explainedWhy 25 and 30 degrees, and when to leave them.
- The sharpening starter kitEverything on the bench in this guide, and what it costs.
- How to sharpen a plane ironSame principles, one extra complication: camber.
- The best wood chiselsWhich sets need the least of step 1.
- The best chisels for beginnersBudget sets ranked by how much of your first evening they cost you, and the purchase that matters more than any of them.
Back to Chisels · how we pick · editorial policy