Chisels
How To Flatten A Chisel Back
The back is half of every edge you will ever put on the tool, and it is the half almost nobody is taught to fix.
We earn a commission when you buy through our Amazon links, at no extra cost to you. It never decides a ranking, and where the best tool in a class is one we earn nothing on, we say so and link it anyway. How this works.
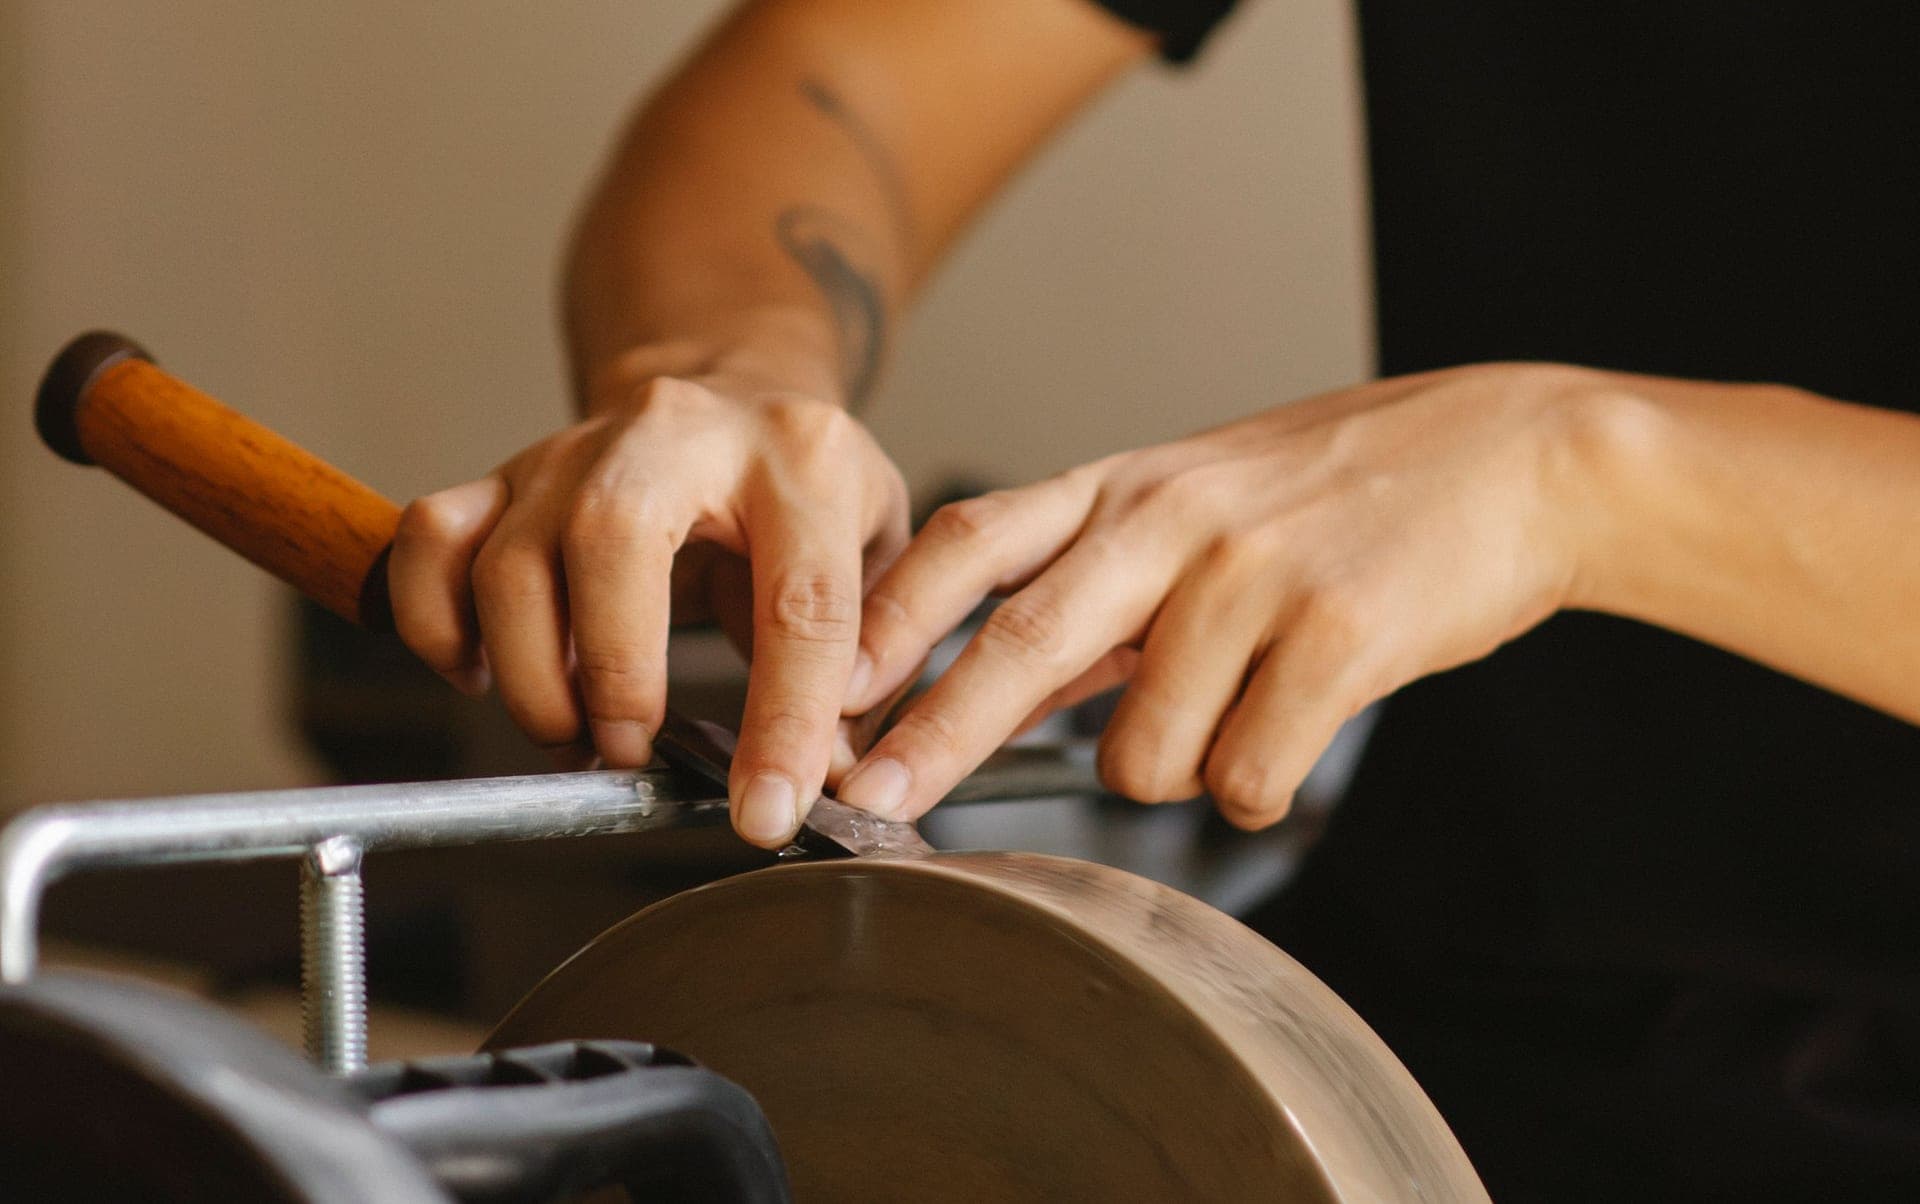
Every sharpening guide spends its time on the bevel. That is the visible, satisfying part — the mirror you can hold up to the light. But an edge is not the bevel; an edge is a line, and a line is where two surfaces meet. On a chisel those surfaces are the bevel and the back, and the back is the one nobody flattens properly.
Get the back right once and you never touch it again for the life of the tool. Get it wrong and no amount of work on the bevel will produce a keen edge, because the two surfaces are not meeting cleanly where they are supposed to. This is the single most common reason a new chisel — even a good one — will not take an edge.
Why the back is half the edge
Picture the last hundredth of an inch behind the cutting edge. The bevel comes down to it from one side; the back comes to it from the other. If the back is flat and polished there, the two polished surfaces meet in a clean intersection and that intersection is your edge. If the back is rough, or rounded, or dished right at the edge, the bevel meets a ragged or curved surface and there is no crisp line — just a zone where the metal peters out.
This is also why a back only needs flattening once. Once that region is flat and polished, every future sharpening happens on the bevel, and you only ever return the freshly honed back to the same flat you already made. The flat is permanent; you are not going to un-flatten steel.
How far up do you actually flatten?
Not the whole back. This is the mistake that turns a ten-minute job into an afternoon and wears the tool out faster than it needs to.
The only region that ever becomes an edge is the first half inch or so behind the tip — realistically the first quarter to half inch. Everything behind that is structural; it never touches the wood at the cutting line and it does not need to be dead flat. Flatten the working region until it is uniformly polished right up to the edge, and leave the rest alone. On a chisel you will resharpen and shorten over decades, chasing a mirror all the way up the blade is effort spent on steel you are eventually going to grind away.
The ruler trick, and the argument about it
The ruler trick is a shortcut, and it is genuinely divisive. Instead of lapping the entire back flat, you lay a thin steel rule along the far edge of your finest stone and rest the back of the chisel on it, so the chisel is tilted by a fraction of a degree. Honing then polishes only a very narrow strip right at the edge — a tiny back bevel — which reaches a mirror in seconds rather than minutes.
The case for it: it is fast, it guarantees a polished edge even on a slightly hollow back, and the back bevel is so shallow it makes no practical difference to how the chisel registers. The case against it: purists point out that a paring chisel relies on a truly flat back to reference a surface, and any back bevel, however small, compromises that reference. Both are right. Use the ruler trick freely on general bench chisels; keep the backs of dedicated paring chisels dead flat, because for those the flat back is the whole point of the tool.
Doing it on stones
Lay the back flat on your coarsest stone and rub it back and forth along the length, keeping even pressure with your fingertips pressed down near the edge. Keep the chisel moving straight; do not let it rock. After a dozen strokes, look at the metal near the edge in raking light. The stone leaves a uniform scratch pattern where it has touched and shiny untouched patches where the steel is still low. Keep going until the scratch pattern is continuous across the full width, right up to the tip, with no shiny low spots.
Then move up through your grits — medium, then fine — at each stage rubbing until the previous grit's coarser scratches are replaced. The back should finish as polished as the bevel. Keep your stones flat while you do this; a dished stone laps a rounded back, which defeats the entire exercise. The stones that hold flat and cut fast enough to make this bearable are covered on the best sharpening stones.
Doing it on sandpaper
If you do not own coarse stones, wet-or-dry sandpaper stuck to a dead-flat surface — a granite offcut, a thick glass plate, the bed of a machine — does the same job and is often faster for the initial heavy flattening, because fresh abrasive cuts hard steel quickly. Work through grits from around 220 up to several thousand, keeping the paper flat and replacing it as it wears; worn paper burnishes rather than cuts.
This is sometimes called the “scary sharp” method and it is a completely legitimate way to flatten a back, especially for the one-time heavy work on a budget chisel with a lot of steel to remove. Many people do the coarse flattening on sandpaper and the final polish on a fine stone. The abrasive is consumable, but a flat plate lasts forever.
Bellied, hollow and twisted backs
Not every back can be saved cheaply, and knowing which is which stops you wasting an hour.
A slightly hollowback — low in the middle, high at the edge and sides — is the easy case and, on a Japanese chisel, deliberate. Because the edge sits on the high perimeter, you flatten it quickly; you are only touching the parts that matter. A belliedback — high in the middle, so it rocks — is the hard case, because the high point is nowhere near the edge and you have to grind the whole middle down before the edge region will sit on the stone. A twisted back, high on opposite corners, is the same problem in two directions.
For a belly or a twist, the ruler trick is the pragmatic rescue: rather than flattening the whole convex surface, you polish just the narrow strip at the edge and accept the tiny back bevel. If the back is badly out and you want it truly flat, that is coarse-stone or coarse-sandpaper work, and on a cheap chisel it is worth asking whether the tool is worth the hour.
When to stop
Stop when the working region — the first quarter to half inch — carries a continuous, uniform polish right up to the edge, with no bright low patches in raking light. That is the whole test. You are not trying to mirror the entire back; you are making sure the strip of steel that will meet the bevel is flat and smooth.
Once that is true, you are done for the life of the chisel. From then on the back gets nothing but a few light passes to remove the burr each time you hone the bevel, which is a step of ordinary sharpening rather than flattening — the routine is on how to sharpen a chisel, and the angle side of the same decision is on sharpening angles explained. Everything you do with the chisel afterward, from paring to chopping, rides on this one flat surface, which is why it is worth doing right — see how to use a chisel.
Questions
Frequently asked
How far up the back of a chisel do I need to flatten?
Only the first quarter to half inch behind the edge, because that is the only region that ever becomes part of the cutting edge. Flattening the whole back wastes time and steel you will eventually grind away.
What is the ruler trick?
A shortcut where you rest the back on a thin steel rule laid on your finest stone, tilting the chisel a fraction of a degree so honing polishes only a narrow strip at the edge. It is fast and fine for bench chisels; keep paring chisels dead flat.
Do I have to flatten the back of a new chisel?
Yes, once. Manufacturers grind a shape, not an edge, and the back near the tip is usually not flat enough to meet the bevel cleanly. It is a one-time job; after that you only remove the burr each time you sharpen.
Why won't my chisel take an edge even though the bevel is polished?
Almost always the back. An edge is where the bevel and back meet, so if the back is rough or rounded right at the tip there is no clean line to sharpen. Flatten and polish the working region and the edge appears.
Can I flatten a chisel back on sandpaper?
Yes. Wet-or-dry paper on a dead-flat plate cuts hard steel fast and is often the quickest way to do the heavy initial flattening. Work up through the grits and replace the paper as it wears.
Keep reading
Related
Back to Chisels · how we pick · editorial policy