Hand Saws
How To Replace A Japanese Saw Blade
The reason a modest pull saw is a buy-it-for-life tool: the handle stays, the blade swaps out in seconds.
We earn a commission when you buy through our Amazon links, at no extra cost to you. It never decides a ranking, and where the best tool in a class is one we earn nothing on, we say so and link it anyway. How this works.
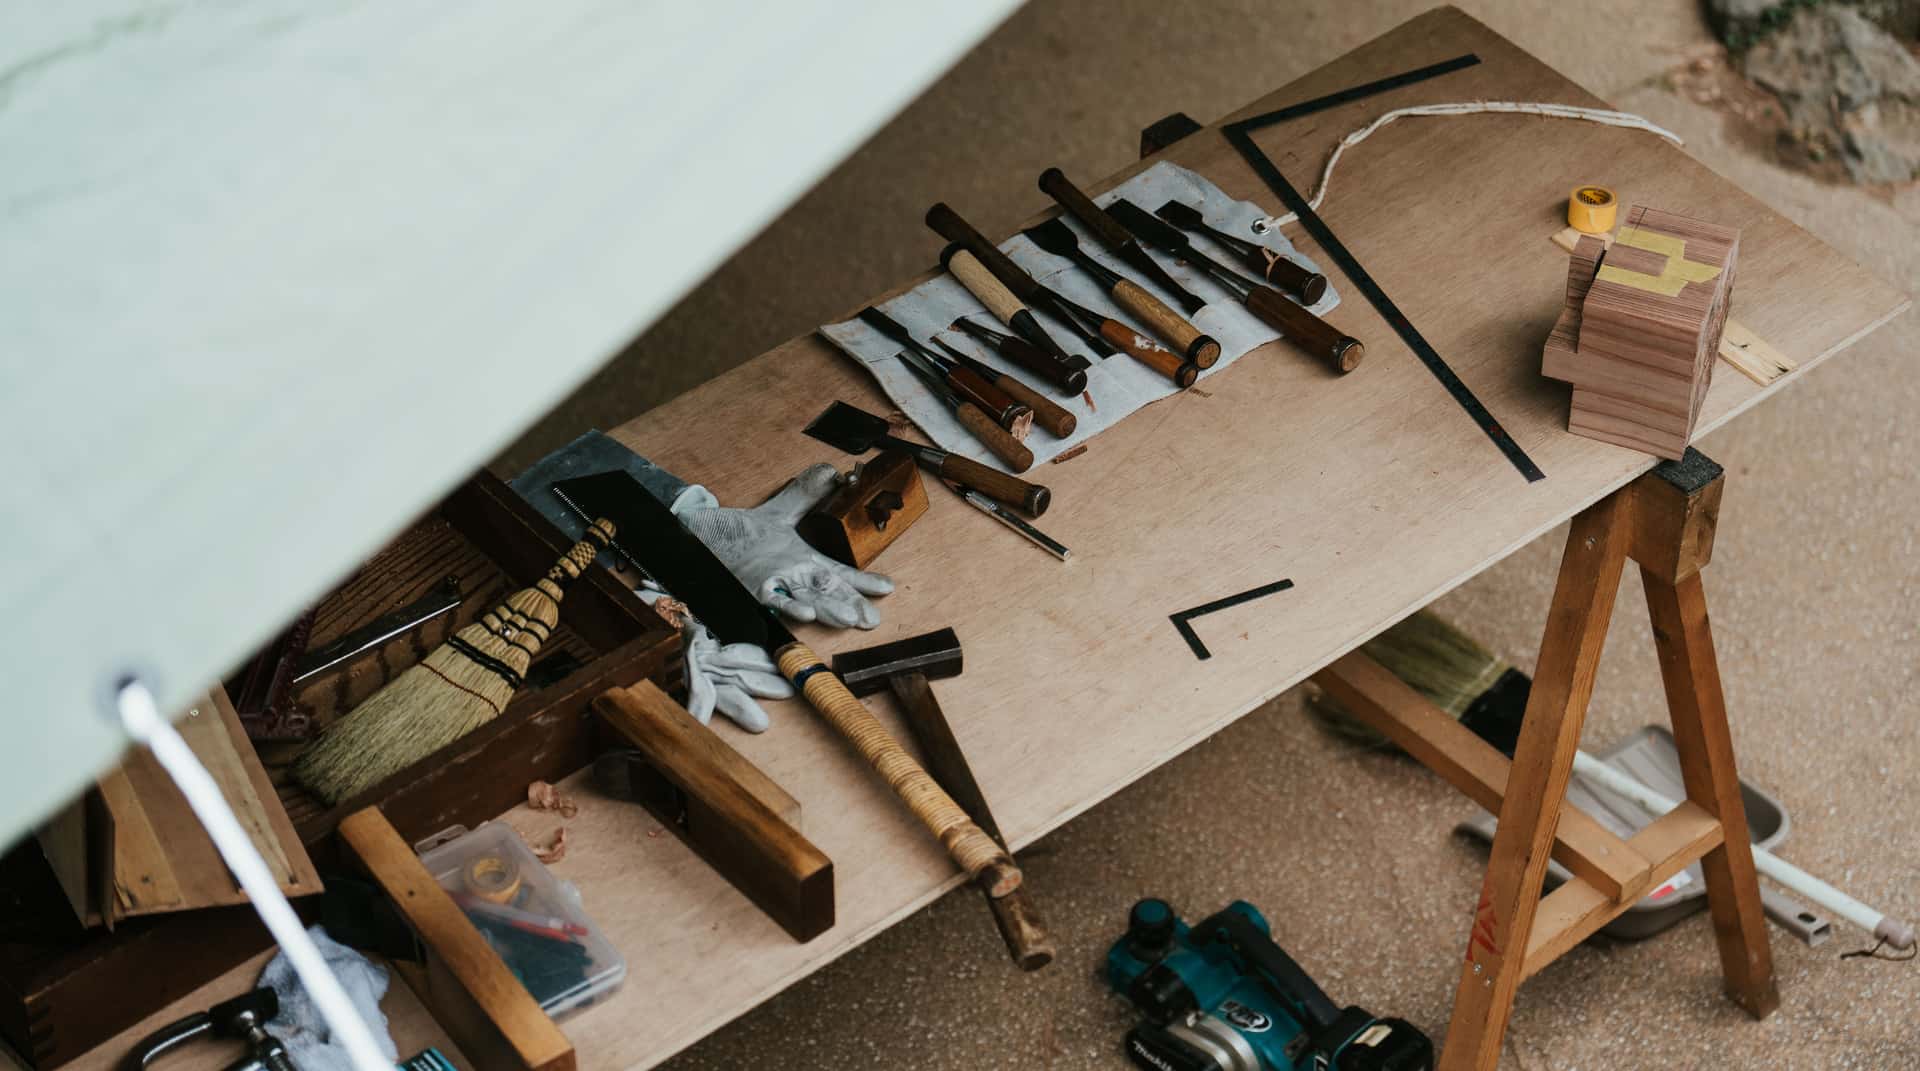
The quiet reason a modest Japanese pull saw counts as a buy-it-for-life tool is not the blade at all — it is the handle. Most Japanese saws are built around a replaceable-blade system: when the teeth finally wear out, the blade lifts off and a fresh one clips on in seconds, while the handle you have grown used to stays exactly as it was. The Japanese name for a replacement blade is kaeba (sometimes written kae-ba), and once you have swapped one you will wonder why every saw is not made this way.
Why you replace the blade instead of sharpening it
Most modern Japanese saws have impulse-hardened teeth — the tips are flash-heated and quenched so they run far harder, and stay sharp far longer, than a traditional filed tooth. The trade-off is that those teeth are too hard to touch up with an ordinary saw file; the file simply skates off. So instead of resharpening, you run the blade until it dulls and then fit a new one. That is a different ownership model from a Western saw, and the wider differences are laid out in Japanese versus Western saws if you want to understand why each tradition made the choice it did.
Removing and fitting a new blade
The exact mechanism depends on the pattern, but they fall into two families:
- Pin-and-slot. Many ryoba and kataba saws hold the blade with a small pin through the neck, seated in a slot in the handle. You flex or slide the blade to clear the pin, draw the old blade out of the split handle, then reverse the steps: feed the new blade in, hook it over the pin, and seat it firmly.
- Set-screw or collar.Some saws, including a number of dozuki patterns, clamp the blade with a small screw or a threaded collar. You loosen the screw, withdraw the blade, insert the replacement to the same depth, and tighten just enough to lock it — not so hard that you kink the thin plate.
Handle the plate by its spine or its back, keep your fingers off the teeth, and check that the blade is fully seated and square to the handle before you cut. A blade that is not seated will feel loose and cut crooked.
A pin-and-slot swap, step by step
- Lay the saw on the bench and note which way the teeth point, so the new blade goes in facing the same direction.
- Ease the blade neck sideways out of the slot to free it from the retaining pin, then draw the old blade straight out of the split handle.
- Wipe any dust or old rust preventative out of the handle slot so the new neck seats fully.
- Slide the new blade in until the hole in its neck lines up with the pin, then push it home so the pin drops into the hole.
- Tug the blade gently to confirm the pin has caught and it will not pull free, and check it sits square to the handle.
A few cautions
Two things go wrong most often. The first is fitting the blade backwards; because these saws cut on the pull, a reversed blade drags uselessly and can damage the teeth, so always match the tooth direction of the old blade before you start. The second is over-tightening a set-screw pattern until the thin plate kinks — snug is enough, and a kink is permanent. Beyond that, keep replacement blades flat and dry in their sleeves; a bent or rusted spare is no spare at all. Fresh blades are frighteningly sharp on the pull, so mind your fingers when you seat one, and do not bin a worn blade straight away — a dull crosscut blade still serves for rough cuts where finish does not matter.
Matching the right blade to your handle
Replacement blades are made to fit specific handles and patterns, so buy the blade that matches your saw rather than a generic one. A kataba blade will not fit a dozuki collar, and a ryoba blade is a different length and neck again. Note the maker, the pattern and the blade length before you order, and if your saw is a two-edged ryoba, remember that the ryoba and dozuki take entirely different replacement blades. When in doubt, keep the packaging or a photo of the neck of the old blade.
What this does to cost per decade
A replaceable-blade saw changes the arithmetic of owning a tool. You are not buying a new saw every few years; you are buying a blade — a fraction of the cost — and keeping the handle for decades. Looked at through a cost-per-decade lens, that is often cheaper over a lifetime than a cheap saw you throw away whole, and it keeps a familiar tool in your hand instead of forcing you to break in a new one. It is a different route to buy-it-for-life than a resharpenable Western saw, but it arrives at the same place.
Keeping spares on hand
Because blades are cheap and store flat, it is worth keeping a spare for the saws you use most, so a dulled or nicked blade never stops a job. If you are still assembling a kit, the patterns worth owning — and the makers whose replacement blades are easy to source — are covered in the best Japanese saws. Buy a saw whose blades you can still get in ten years, and you have bought a tool for life.
Questions
Frequently asked
Can you replace the blade on a Japanese saw?
Yes, that is how most are designed. The blade lifts off the handle and a fresh replacement (kaeba) clips or screws on in seconds, so you keep the handle and only renew the cutting edge.
Why can you not sharpen a Japanese saw?
Most have impulse-hardened teeth that are far harder than a saw file, so a file will not bite. Rather than resharpen, you run the blade until it dulls and fit a new one.
How do I know which replacement blade to buy?
Match the maker, pattern and blade length of your saw. A dozuki, ryoba and kataba each take a different blade, so note those details or keep the old blade or its packaging when you order.
How is a Japanese saw blade attached?
Usually one of two ways: a pin through the blade neck seated in a slot in the handle, or a small set screw or collar that clamps the blade. Both let you swap the blade by hand.
Is a replaceable-blade saw cheaper in the long run?
Often, yes. You buy inexpensive blades instead of whole new saws and keep the handle for decades, which usually works out cheaper per decade than replacing a disposable saw outright.
Keep reading
Related
- The best Japanese sawsPatterns and makers whose replacement blades are easy to source.
- Ryoba vs dozukiThe two saws that take entirely different replacement blades.
- Japanese vs Western sawsWhy one tradition swaps blades and the other resharpens them.
- What is a dozuki sawThe backed pull saw whose blade you will one day replace.
Back to Hand Saws · how we pick · editorial policy