Sharpening
How To Use A Honing Guide
The jig that removes the one variable beginners cannot control — the angle — and never forgets it.
We earn a commission when you buy through our Amazon links, at no extra cost to you. It never decides a ranking, and where the best tool in a class is one we earn nothing on, we say so and link it anyway. How this works.
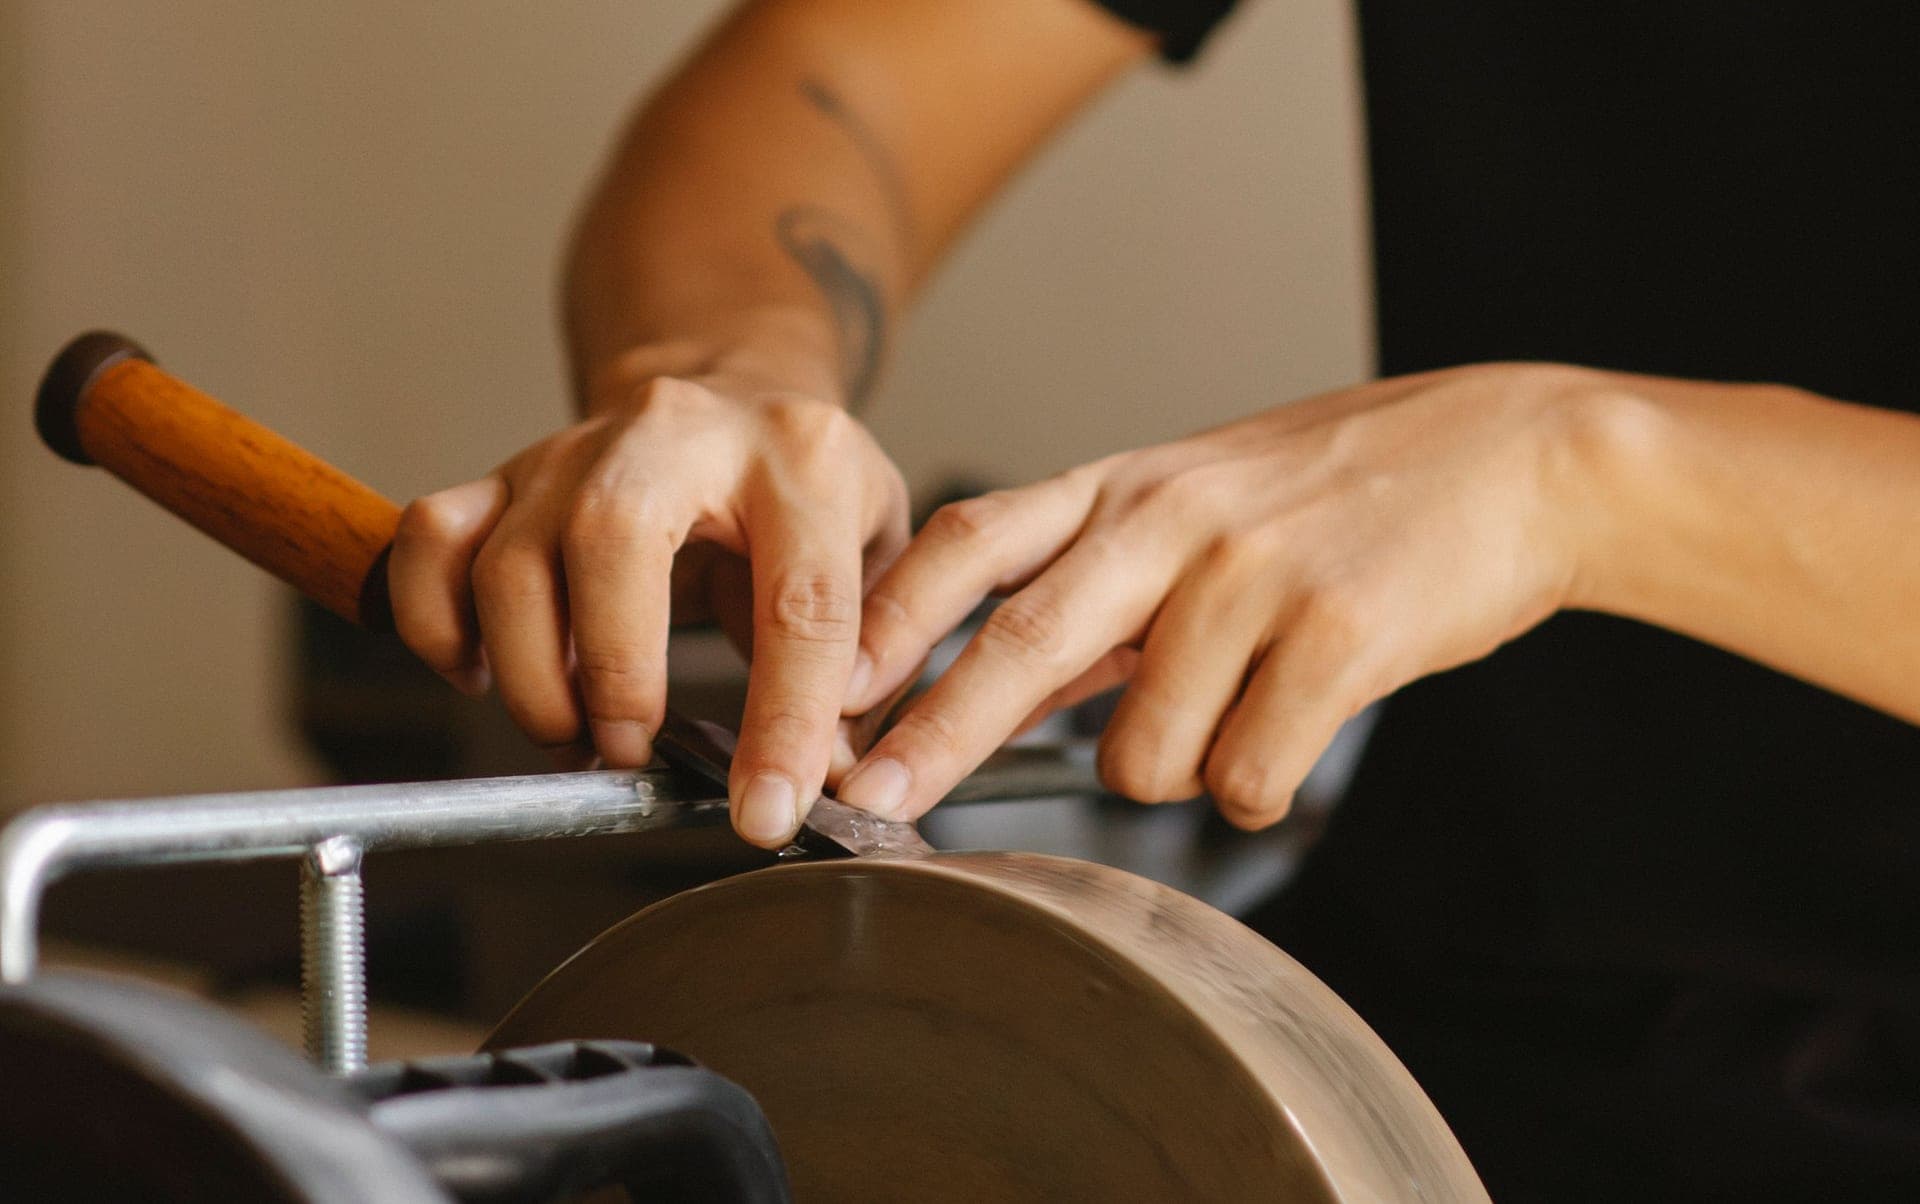
A honing guide is a small clamp on a roller. You lock the blade into it, set how far the edge sticks out, and then push the whole thing back and forth across a stone. Because the roller holds the blade at one fixed angle, every stroke lands on the same bevel — and the guide never gets tired, distracted, or sloppy on the tenth pass the way a hand does. That is the entire value proposition. It removes the one variable a beginner cannot yet feel: the angle.
What the guide actually does
Freehand sharpening asks you to hold a blade at, say, thirty degrees and keep it there while you rub. Most people rock a degree or two without knowing it, which rounds the bevel over and stops the edge from ever coming to a crisp point. A guide converts that skill into a measurement. Set it once, and repeatability is free. When the edge dulls, you clamp up again at the same projection and reproduce the exact bevel you had before, so touch-ups take a minute instead of a rebuild.
Setting the projection to hit an angle
The angle a guide produces depends on two things: the diameter of its roller and how far the blade projects from the jaws. Stick the edge out farther and the angle gets shallower; pull it back and the angle steepens. Most guides come with a chart, and many woodworkers build a simple projection jig — a block with a stop — so they can set the same distance every time without measuring. If you want the reasoning behind the numbers, read sharpening angles explained before you commit to a target; a bench chisel and a smoothing plane iron do not want the same bevel.
Clamping the blade square
This is where guides earn their reputation, good and bad. If the blade sits even slightly skewed in the jaws, the guide will faithfully grind a skewed edge — it repeats your mistake perfectly. Seat the blade flat against the registration face, snug the clamp gently, then check that the edge is parallel to the roller before you tighten fully. A small engineer's square against the side of the guide catches most errors. Tighten in stages and re-check, because the act of clamping can nudge a thin iron out of true.
The honing stroke
Work the guide back and forth along the length of the stone, using the full surface so you do not wear a hollow in the middle. Light, even pressure beats heavy shoving; the abrasive does the cutting, not your shoulders. Keep the blade wet or oiled per your stone. After a dozen strokes, lift the blade and look for a continuous scratch pattern right at the edge — that tells you the bevel is landing where you want it. Then move up through the grits.
- Coarse to set the bevel. Only if the edge is chipped or the angle is being changed. Otherwise skip it.
- Medium to refine. Raise a small burr along the whole width, which confirms you have reached the very edge.
- Fine to polish. A few light passes remove the previous scratches and leave a bright, keen edge.
Adding a microbevel with the guide
A guide makes a microbevel almost trivial, which is one of its quiet advantages. Once the main bevel is honed, back the blade projection off by a hair or tip the guide onto a slightly higher angle, then take a handful of strokes on your finest stone. You have now polished a sliver at the very tip instead of the whole bevel, which is faster to raise and faster to renew later. The full logic is in microbevels explained if you want to decide whether it suits your work.
Roller styles and their quirks
Guides differ mostly at the roller. A single narrow roller lets you deliberately camber a plane iron by leaning left and right, but it can also wobble if your pressure is uneven. A wide roller tracks dead straight and resists rocking, which is ideal for chisels and square edges but fights you if you want camber. Side-clamping guides grip short and awkward blades that a top-clamp guide drops. None is best at everything; the right choice depends on what you sharpen most. The trade-offs are laid out in the best honing guides.
Handling narrow chisels
Skinny chisels are the honing guide's weak spot. A quarter-inch blade has almost nothing for the jaws to grip, and a top-clamp guide will let it pivot. Side-clamp guides handle these far better because they hold the blade's edges rather than its face. If a narrow chisel keeps twisting, that twist is exactly why some people learn to freehand small tools. For everything wider, the guide is hard to beat.
Habits that keep it repeatable
- Wipe the roller. Grit on the wheel skews the angle; a quick wipe between grits keeps it honest.
- Use the whole stone. Move the guide along the full length so you do not dish the center.
- Note your projection. Record the distance for each tool so the next sharpening is a thirty-second job.
Put together, the routine is short: clamp square, set the projection for your angle, hone through the grits, add a microbevel if you like, and check the edge. Do it the same way each time and the guide gives you back the same edge each time. That is the whole point of a jig on a buy-it-for-life bench — it turns a skill you have not built yet into a setting you can trust. When you are ready to apply it to specific tools, walk through how to sharpen a plane iron and how to sharpen a chisel with the guide in hand.
Questions
Frequently asked
Can one honing guide handle both plane irons and chisels?
Most can, within a width range. Check the guide's jaw capacity, because very wide plane irons and very narrow chisels sit at the edges of what a single guide grips well. Side-clamp guides tend to cover the widest span.
Why does my honing guide grind a crooked edge?
Almost always because the blade is clamped slightly skewed. The guide repeats whatever angle you give it, including a bad one. Reseat the blade against the registration face and check the edge is parallel to the roller before you tighten fully.
Do I still need to learn freehand if I use a guide?
No. A guide alone will keep you sharp for the life of the tool. Many woodworkers drift to freehand for quick touch-ups because it is faster once the skill is learned, but that is a convenience, not a requirement.
How do I set an exact angle without the chart?
Use a projection jig: a block with a stop set so the blade always pokes out the same distance. Set the distance once for your target angle, and you can reproduce it in seconds every session without measuring again.
Is a honing guide slower than freehand?
Per sharpening, yes, because clamping and setting the projection takes time a skilled freehander skips. But for a beginner it is faster overall, because it produces a genuinely sharp edge on the first try instead of a rounded bevel that never comes keen.
Keep reading
Related
- The best honing guidesRoller styles compared, so you buy the guide that fits your blades.
- Sharpening angles explainedThe angle you are dialing in, and why it changes by tool.
- Microbevels explainedThe polishing pass a guide makes almost effortless.
- Freehand vs honing guideWhen to keep the guide and when to work by hand.
Back to Sharpening · how we pick · editorial policy