Sharpening
The Scary Sharp Method
Sandpaper on glass sharpens as well as any stone and stays dead flat by definition. The catch is that you buy the flat surface again every few months.
We earn a commission when you buy through our Amazon links, at no extra cost to you. It never decides a ranking, and where the best tool in a class is one we earn nothing on, we say so and link it anyway. How this works.
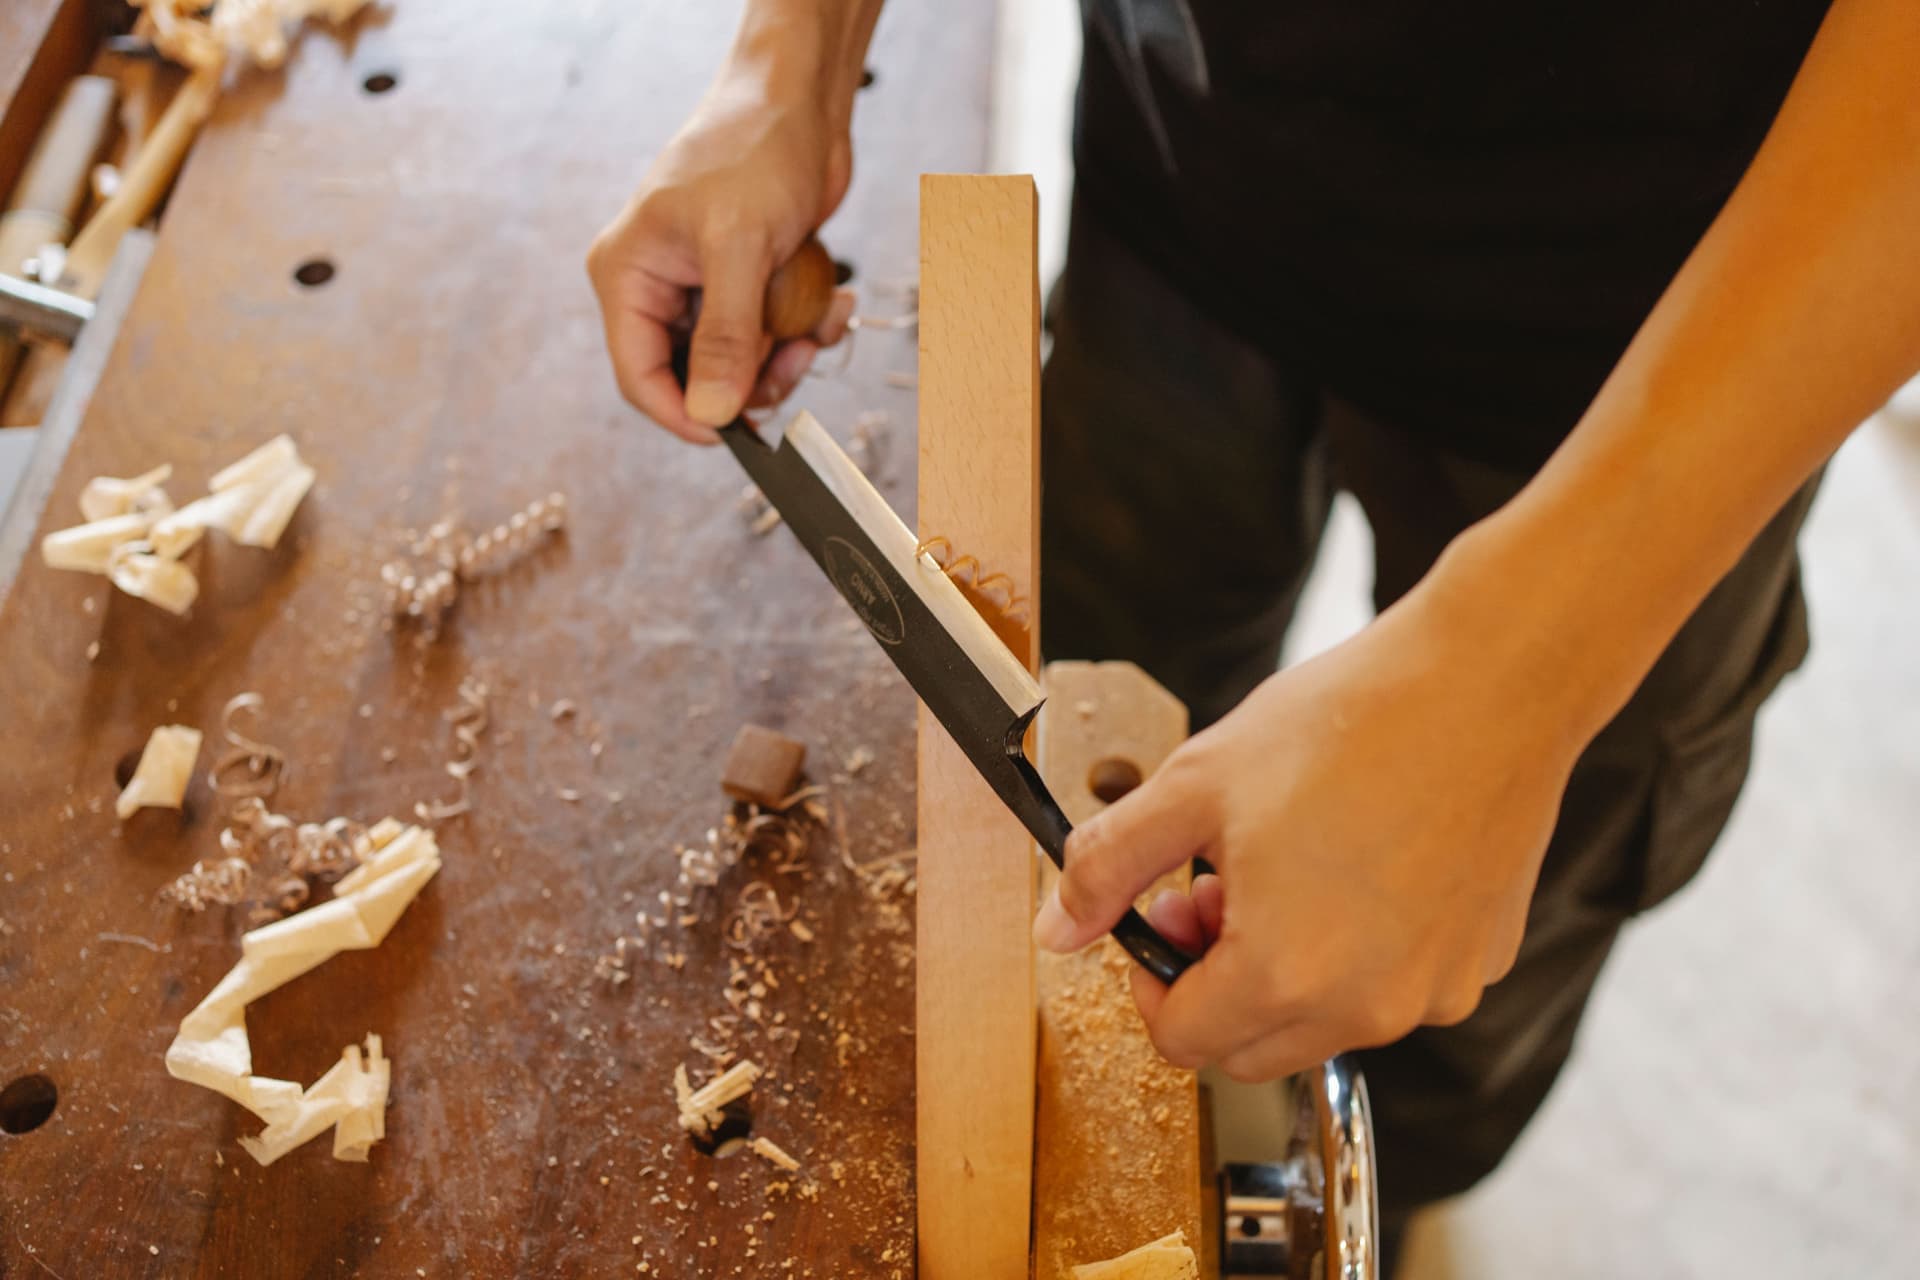
The scary sharp method is sharpening on sandpaper stuck to a flat, hard surface — usually plate glass. The name is enthusiast folklore for the edge it produces, and the method is genuinely good. It is also the route with the lowest possible entry cost and one specific long-term catch that a buy-it-for-life buyer needs to weigh honestly.
What it is and why it works
You take a piece of thick float glass, a machined granite surface plate, or a lapped steel plate, and you fix sheets of wet-dry abrasive paper to it in a progression of grits. Then you sharpen exactly as you would on stones: flatten the back, hone the bevel on progressively finer sheets, remove the burr.
It works because it borrows a flat reference from the glass rather than trying to keep an abrasive block flat. A stone dishes as you use it — keeping it true is a whole habit of its own, covered in how to flatten a waterstone. Glass does not dish. The abrasive sits on a surface that is flat by definition, so every bevel you grind is flat too, and it stays that way sheet after sheet. For flattening the backs of chisels and plane irons, that guaranteed flatness is a real advantage.
The grit progression
Sandpaper uses the CAMI or FEPA-P scale, not the JIS waterstone scale, so the numbers look different from the ones on a stone — the same word “1000” means a coarser surface here. That mismatch trips people up, and it is worth reading sharpening grits explained before you buy sheets so you land where you actually want to. A workable progression on the paper scale:
| Stage | Sandpaper grit | Role |
|---|---|---|
| Repair | 120–220 | Reprofile a chip or set a new bevel angle |
| Setting | 320–400 | Establish the bevel and remove machining marks |
| Working | 600–800 | Create the sharp edge |
| Fine | 1000–1500 | Refine and reduce the scratch pattern |
| Polish | 2000+ | Bring the bevel to a keen, reflective finish |
You do not need every stage. Two or three sheets — a working grit and a polishing grit, plus a coarse one for repairs — sharpen everything. A strop after the finest sheet takes the edge the rest of the way, exactly as it does with stones.
Adhesive and water
There are two ways to run it, wet or dry, and they suit different papers.
Dry, with adhesive. Use spray adhesive or self-adhesive abrasive rolls to fix the sheets down. It is clean and quick to set up, but the sheets clog with swarf faster and have to be brushed clear. Adhesive residue also has to be cleaned off the glass when you change grits, which is the tedious part.
Wet, with water.Wet-dry paper is designed to be used with a little water, which floats the swarf away, keeps the paper cutting and stops it loading up. A film of water under the sheet will often hold it to smooth glass by surface tension alone, so you may not need adhesive at all — the sheet stays put and peels off cleanly. This is the tidier method and the one most people settle on. Keep the glass and the bench dry underneath so the plate does not slide.
Where it genuinely wins
Entry cost. A piece of glass and a few sheets of wet-dry paper cost a fraction of a stone setup. If the price of stones is the only thing standing between you and a sharp chisel, this removes the barrier completely.
Guaranteed flatness. No flattening stone, no pencil-grid checks, no dished surface quietly curving your bevels. For flattening tool backs in particular, the flat glass reference is hard to beat.
Easy grit changes. Want to insert a 400 between your 220 and your 800? Buy a sheet. Reconfiguring a sandpaper progression costs pennies, where each new stone is a real purchase.
The buy-it-for-life critique
Here is the honest problem, and it is the one the enthusiast write-ups skate over. Sandpaper is a consumable. It wears, it tears, it loads up, and worn paper cuts slowly and unpredictably — which quietly costs you edge quality if you do not notice it has gone off. You are buying the flat cutting surface again and again, forever.
A stone, by contrast, is a durable good. A diamond plate can last decades; a hard oilstone can outlive its owner. Over a woodworking lifetime the recurring cost of sheets adds up to more than a good set of stones would have cost once, and it never stops. That runs directly against the logic of buying tools that last a lifetime: the method itself is the opposite of durable, even though the edges it produces are excellent.
There is also an ergonomic point. On glass you are working close to the bench with a large flat area to manage sheets on; some people find a mounted stone at a comfortable height easier to use well session after session. It is a small thing, but it compounds over years.
When it actually makes sense
Starting out on a tight budget. It is a legitimate, low-cost way to learn to sharpen and to find out how much you will actually do it before committing to stones. Many people begin here.
Flattening tool backs. Even committed stone users often keep a sheet of coarse wet-dry on glass purely for flattening the backs of new chisels and irons, where the guaranteed-flat reference is genuinely the right tool.
Occasional or traveling use. A sheet of paper and a scrap of glass pack flat and weigh nothing. For someone who sharpens rarely, the lack of a maintenance obligation can outweigh the consumable cost.
For a daily user who wants the lowest lifetime cost and the least fuss, the honest answer is that a good stone is the better buy — the best sharpening stones page lays out which, and why. Scary sharp is a superb way to start and a poor way to spend the next thirty years.
Questions
Frequently asked
What is the scary sharp method?
Sharpening on wet-dry sandpaper fixed to a flat, hard surface such as plate glass. You work through a progression of grits exactly as you would on stones, but the glass supplies a flat reference that never dishes. It produces excellent edges for very little up-front cost.
What grit sandpaper do I need for scary sharp?
On the sandpaper scale, a coarse sheet around 120–220 for repairs, a working grit of 600–800, and a polishing grit of 1000 or higher. Two or three grits plus a strop sharpen everything. Note these numbers run coarser than the same figures on a waterstone.
Do you use water with the scary sharp method?
You can. Wet-dry paper is made to run with a little water, which floats swarf away and keeps it cutting, and a film of water often holds the sheet to smooth glass without adhesive. The alternative is dry with spray adhesive, which is quicker to set up but clogs faster.
Is scary sharp cheaper than sharpening stones?
Cheaper to start, more expensive over time. The glass and first sheets cost little, but sandpaper is a consumable you rebuy forever, and over a woodworking lifetime that recurring cost exceeds a good set of stones. Cheap entry, higher lifetime cost.
Is scary sharp as good as stones?
For edge quality, yes — the guaranteed-flat surface produces flat bevels and keen edges, and it is excellent for flattening tool backs. Its weakness is durability, not performance: you are buying the cutting surface again and again.
Keep reading
Related
- Sharpening grits explainedWhy sandpaper numbers run coarser than stone numbers.
- The best sharpening stonesThe durable alternative, ranked with cost per decade.
- Tools that last a lifetimeWhy a consumable method sits awkwardly with the site's logic.
- How to flatten a waterstoneThe problem glass sidesteps entirely.
Back to Sharpening · how we pick · editorial policy