Restore & Vintage
Restoring Wooden Tool Handles
The wooden parts are where an old tool feels dead or alive; reviving grip is quick, cheap, and the one place restraint matters more than effort.
We earn a commission when you buy through our Amazon links, at no extra cost to you. It never decides a ranking, and where the best tool in a class is one we earn nothing on, we say so and link it anyway. How this works.
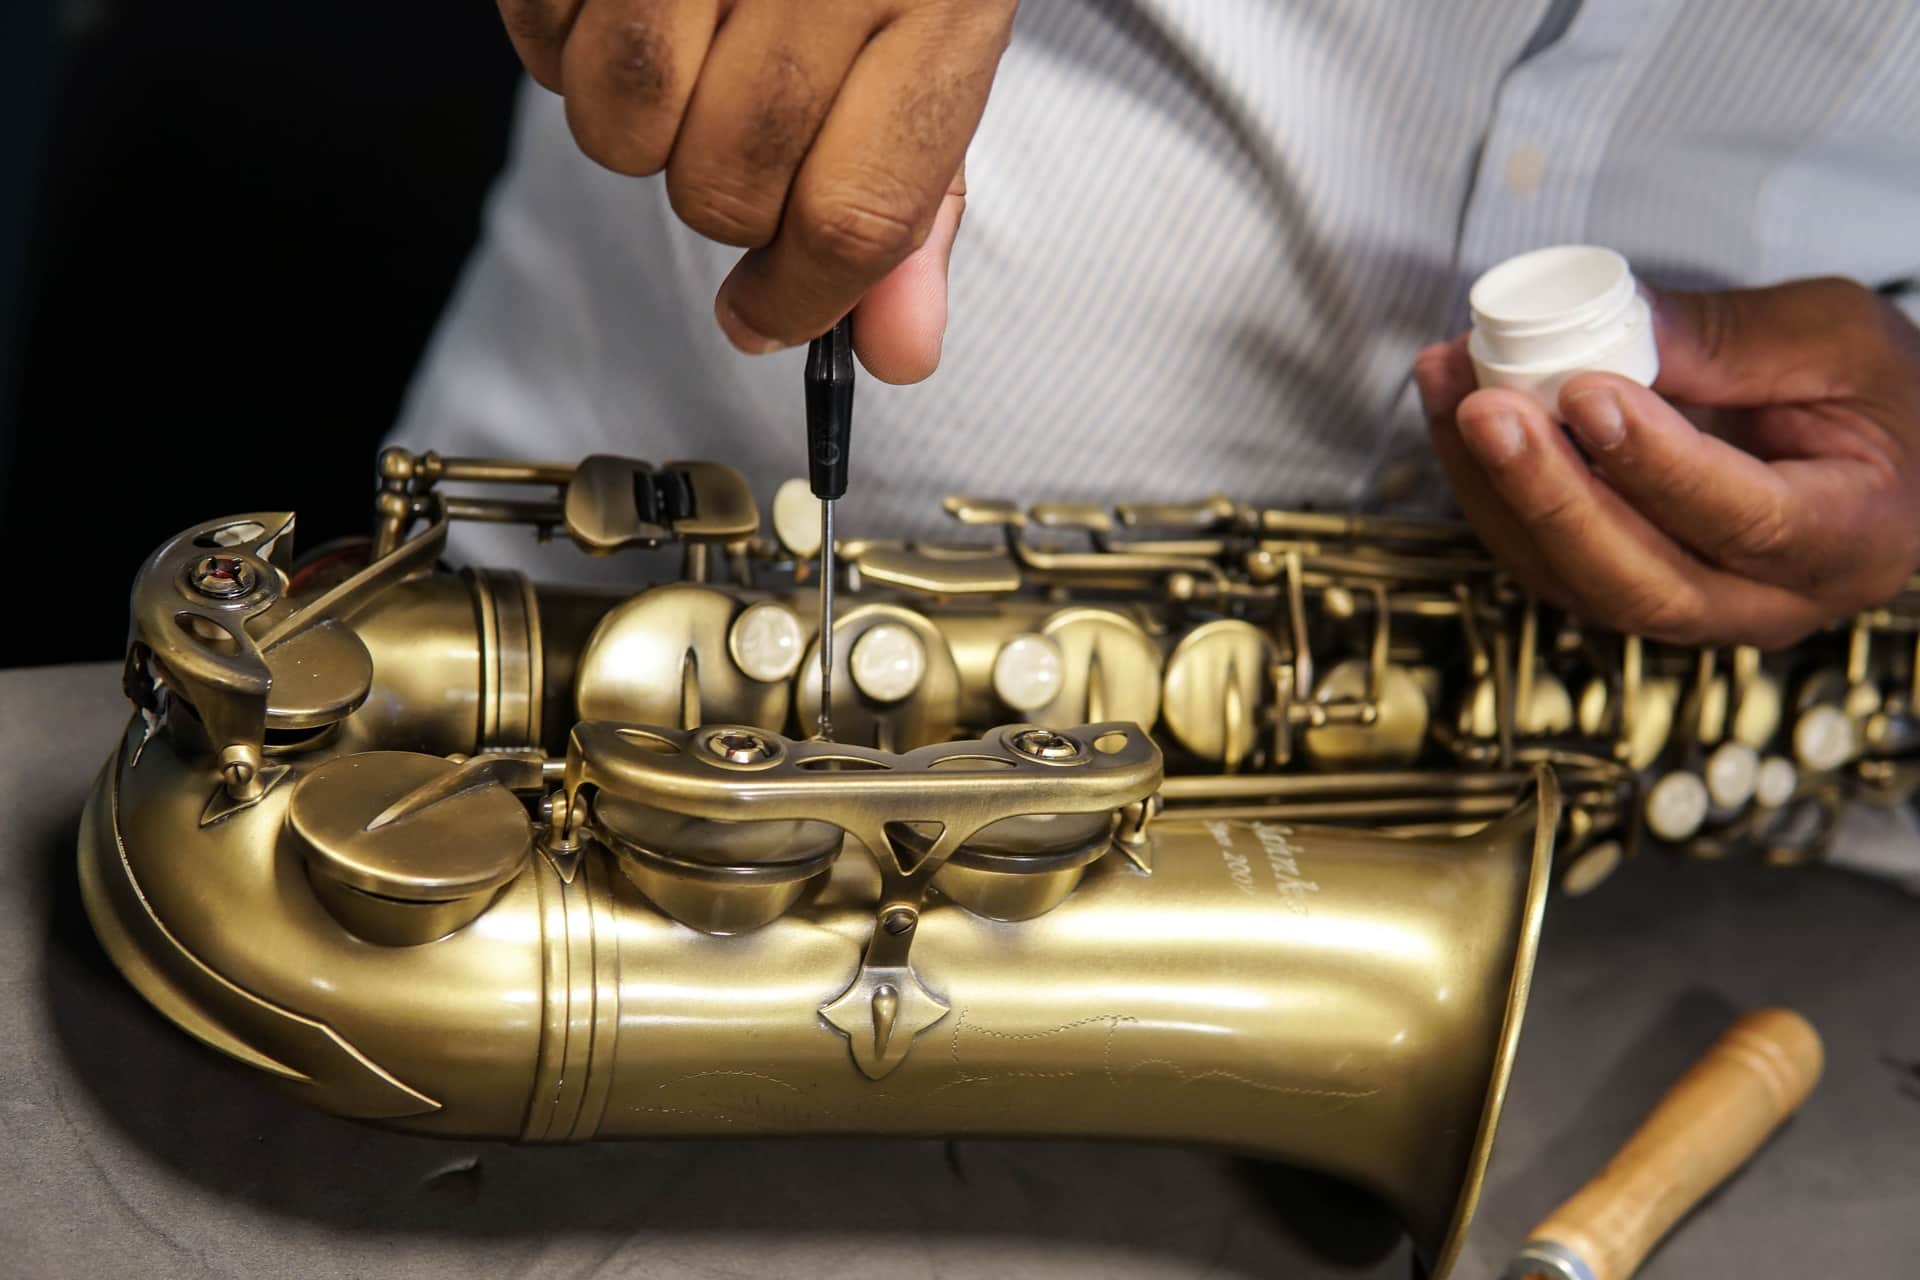
The steel gets the attention, but the wooden parts are where an old tool feels either dead or alive in the hand. A plane tote, a chisel handle, a saw grip — these were shaped by people who understood hands and then worn smooth by decades of use, and reviving one is quick and cheap. It is also the one job on the whole restoration where restraint beats effort: the fastest way to ruin a tote is to sand it into a different shape than the one your hand already likes.
This applies across the site — it is the tote-and-knob step on how to restore a hand plane and the handle step on how to restore a chisel, gathered here in full.
Know the wood before you strip it
Vintage handles are usually a dense, close-grained hardwood: rosewood on older plane totes and knobs, beech and apple on saw handles, boxwood and ash on other tools. These woods take an oil finish beautifully and were never meant to wear a thick plastic coat. Knowing roughly what you have tells you how far to go — a rosewood tote wants cleaning and oiling, not aggressive refinishing.
1. Clean, gently
Start with the least aggressive thing that works. Mineral spirits on a rag lifts generations of oily grime and hand grease without touching the wood or raising the grain. A brass brush gets into carving and checkering. Keep water to a minimum — a wooden handle soaked in water swells, raises its grain, and can loosen the joint or the ferrule. Often a good clean is most of the job, and the original finish underneath is fine.
2. Strip old finish only if it has failed
Do not strip out of habit. If the finish is merely dull, a clean and a fresh coat over the top revives it. Strip when the old finish is crazed, flaking, sticky or blotched.
- Identify it first.Most vintage handles wear shellac, which dissolves in denatured alcohol — a rag dampened with alcohol wipes it away with no scraping. Lacquer surrenders to lacquer thinner. A hard oil-varnish resists solvents and needs scraping or careful sanding.
- Prefer a card scraper to sandpaper.A scraper takes finish off flat surfaces while leaving the crisp lines, the maker's stamps and the worn-in profile intact. Sandpaper rounds everything and erases stamps, which is exactly the character you are trying to keep.
- Chemical stripper is a last resort, for a handle buried under thick modern over-coats. Neutralize and dry fully afterward.
3. Repair cracks, splits and chips
Fix the structure before you finish it.
- Hairline cracks: thin cyanoacrylate wicks deep into the crack by capillary action and locks it; wipe the squeeze-out before it sets.
- Open splits: work glue into the gap and clamp. Hide glue or ordinary wood glue both hold; the trick is clamping cauls shaped to the curved handle so the pressure is even.
- Chipped horns and tips: the pointed horns of a saw tote or the top of a plane tote chip easily. Build them back with a tinted epoxy or graft in a matching sliver of wood, then reshape the repair to the original line. A small chip is cosmetic and many fine users wear one.
4. Reshape only to undo damage
Reshaping means restoring a broken horn or fairing in a repair — not restyling. The handle is comfortable because a designer drew it and a century of use polished it, and there is no improving on that with a rasp on a Sunday. Feather your repairs into the existing surface, knock off splinters and raised grain, and stop. When you are tempted to keep going, stop sooner.
5. Choose a finish
Three traditional finishes cover every hand-tool handle, and the honest guidance is to match the finish to how the tool is used.
| Finish | Feel & protection | Best for | Renewability |
|---|---|---|---|
| Oil (boiled linseed, tung) | Warm, in-the-wood, low film | Tool handles, working grips | Wipe on another coat anytime |
| Shellac | Light film, traditional sheen | Plane totes and knobs, display | Melts into itself; easy to patch |
| Wax (over oil or shellac) | Silky, minimal protection | Final feel over another finish | Buff on more as needed |
An oil finishis the default for a user because it penetrates rather than sits on top, feels warm and dry in the hand, and is renewed by wiping on another coat — no stripping, no witness lines. Shellac gives the slightly glossier, traditional look many plane totes shipped with and patches invisibly because a fresh coat melts into the old. Wax is a topcoat for feel, not a standalone finish. Skip modern polyurethane: it looks plastic on a rosewood tote, cannot be spot-repaired, and chips rather than wears. One safety note that catches people every year — rags soaked in linseed or tung oil can spontaneously combust as they cure. Dry them flat outdoors or drown them in water before binning.
If the handle is missing or beyond repair
A missing tote, a shattered chisel handle, a saw grip snapped through the grain — none of these ends the tool. There are three routes: buy a used replacement, since plane totes and knobs turn up constantly in parts lots; turn or shape a new one; or graft a repair into the survivor. If you make one, choose a dense, straight-grained hardwood — beech, maple, ash or a fruitwood for handles that get struck, and rosewood or another close-grained species if you are matching an original plane tote. Avoid soft, coarse woods, which dent and split in use.
When you shape a replacement, copy the original profile rather than invent one. Trace a surviving twin, or work from the outline of the broken piece. The old patterns balance the tool in the hand, and a fatter or squarer homemade handle feels wrong in a way you cannot quite name until you pick up a correct one.
6. Re-seat ferrules and mount plane hardware
A ferrule— the metal band on a chisel or file handle — stops the wood splitting under a mallet blow and must be tight. Re-seat a loose one, shim it with a thin sliver, or make a fresh one from a slice of copper or brass plumbing pipe of the right bore. A struck handle with a loose or missing ferrule will split, so this is structural, not cosmetic.
For a plane, the tote and knob bolt down over threaded rod. Cracked totes are extremely common at the thin short-grain near the base of the horn — glue and clamp as above — and both parts want a firm, rattle-free seat without over-tightening the nut, which splits the wood you just repaired. Low knobs and high knobs are era markers, not defects; keep whichever the plane came with. Once the wood is done, keeping it and the metal that way is the routine covered on cleaning and waxing hand tools, and the rust side of the same problem is on rust removal and prevention.
The handles with their own page
Plane totes and knobs are the handles most often found broken, because the horn of a tote snaps if the plane is dropped and the original rosewood is brittle with age. How to restore a plane tote and knob covers repairing a broken horn, re-finishing the original, and when to make a new one instead.
Questions
Frequently asked
How do I clean an old wooden tool handle?
Start gently: mineral spirits on a rag lifts decades of oily grime without raising the grain, and a brass brush gets into detail. Keep water to a minimum, because a soaked handle swells, raises its grain and can loosen the joint or ferrule. Often a good clean is most of the job.
Should I strip and refinish a vintage handle?
Only if the finish has failed — crazed, flaking or sticky. If it is merely dull, clean it and add a fresh coat over the top. When you do strip, identify the finish first (most old handles wear shellac, which wipes off with denatured alcohol) and prefer a card scraper to sandpaper.
What finish is best for a tool handle?
An oil finish for most working handles: it penetrates, feels warm and dry, and is renewed by wiping on another coat. Shellac suits plane totes and gives a traditional sheen; wax is a topcoat for feel. Avoid polyurethane, which looks plastic and cannot be spot-repaired.
How do I fix a cracked plane tote?
Work glue into the split and clamp it with cauls shaped to the curve so the pressure is even; wick thin cyanoacrylate into a hairline. Cracks at the thin short-grain near the horn are very common and fully repairable, so a split tote is never a reason to pass on a good plane.
How do I tighten a loose ferrule?
Re-seat it, shim it with a thin sliver of wood or metal, or make a new one from a slice of copper or brass plumbing pipe sized to the neck. It has to be tight, because the ferrule is what stops a struck handle splitting — this is structural, not cosmetic.
Keep reading
Related
- How to restore a hand planeWhere the tote and knob step sits in the whole job.
- How to restore a chiselHandle repair, replacement and re-ferruling for chisels.
- Cleaning and waxing hand toolsKeeping the wood and metal right once restored.
- Rust removal and preventionThe metal side of the same tool.
- How to restore a hand sawA saw is a spring-steel plate and a shaped wooden handle.
Back to Restore & Vintage · how we pick · editorial policy